How To Configure Different Settings?

Here you will get a full guide about how to configure the settings of the Stintar tool.
Company Detail
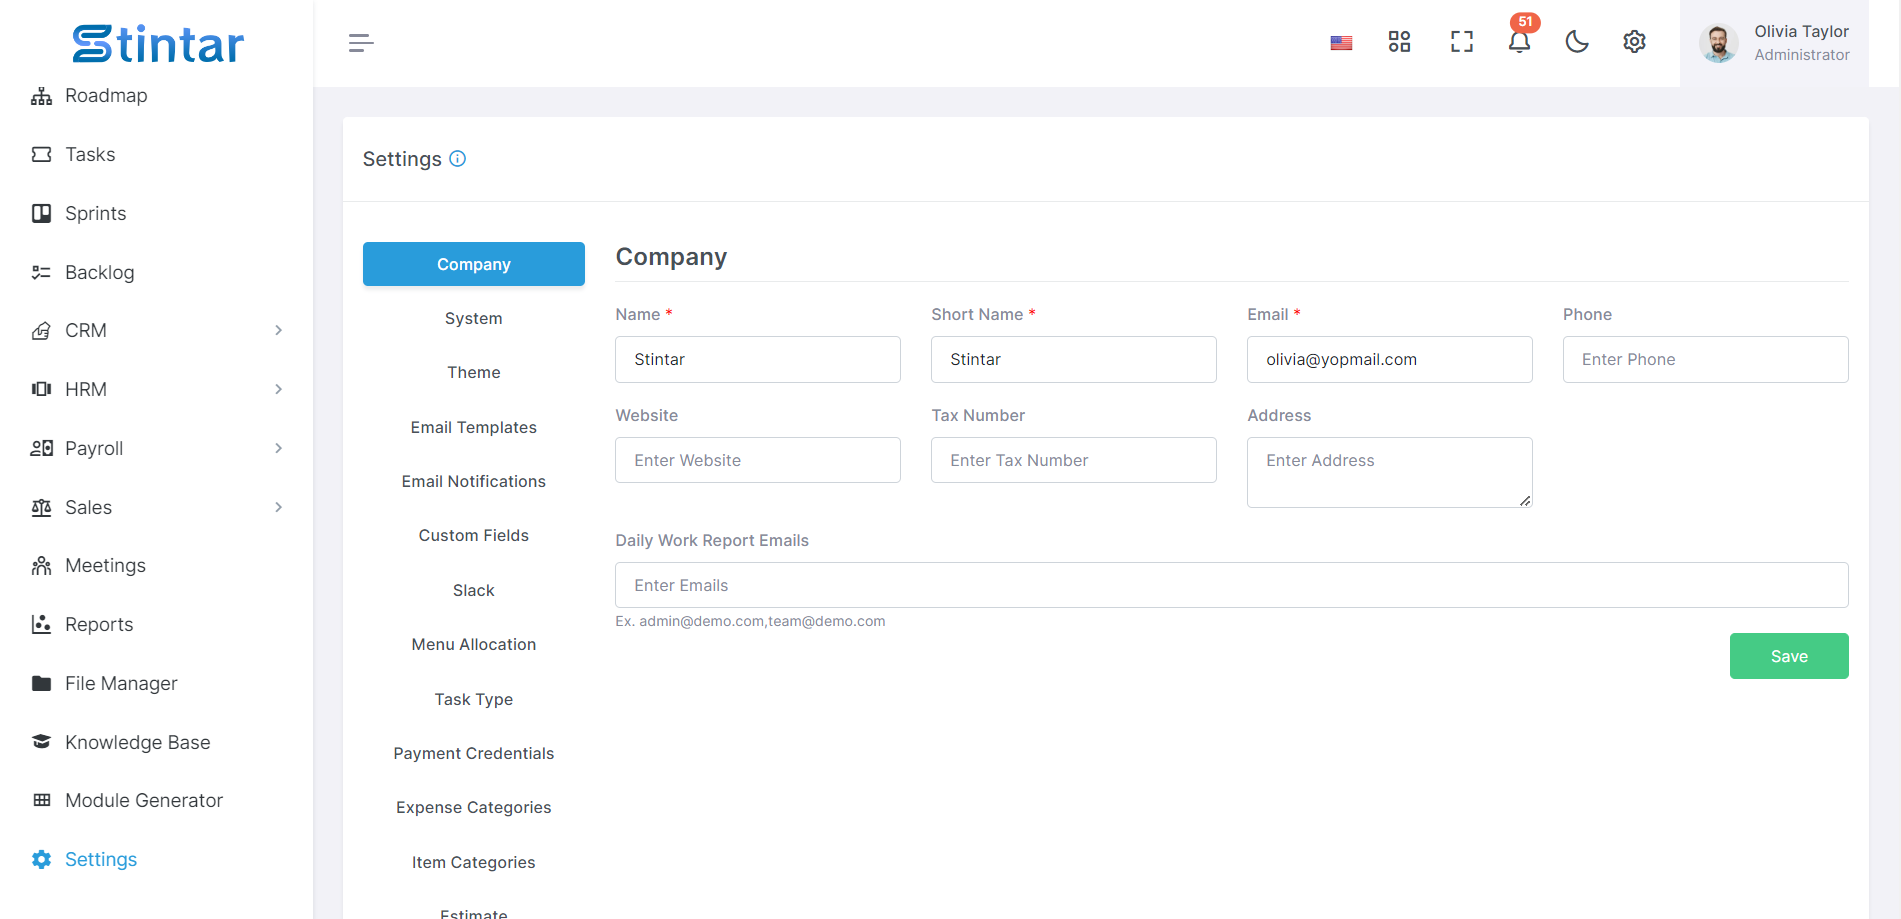
To update your company details efficiently, follow these steps:
Name: Enter the full name of your company.
Short Name: Provide an abbreviated version of your company name if applicable.
Email: Update the company email address for correspondence.
Phone: Provide the company's contact phone number.
Website: Update the company's website URL.
Address: Enter the physical address of your company.
Additionally, to receive email notifications for daily work reports, please add Daily Work Report Emails to your preferences.
By following these steps, you can easily ensure that your company's information is accurate and up-to-date, while also enabling notifications for important daily work reports.
System Settings
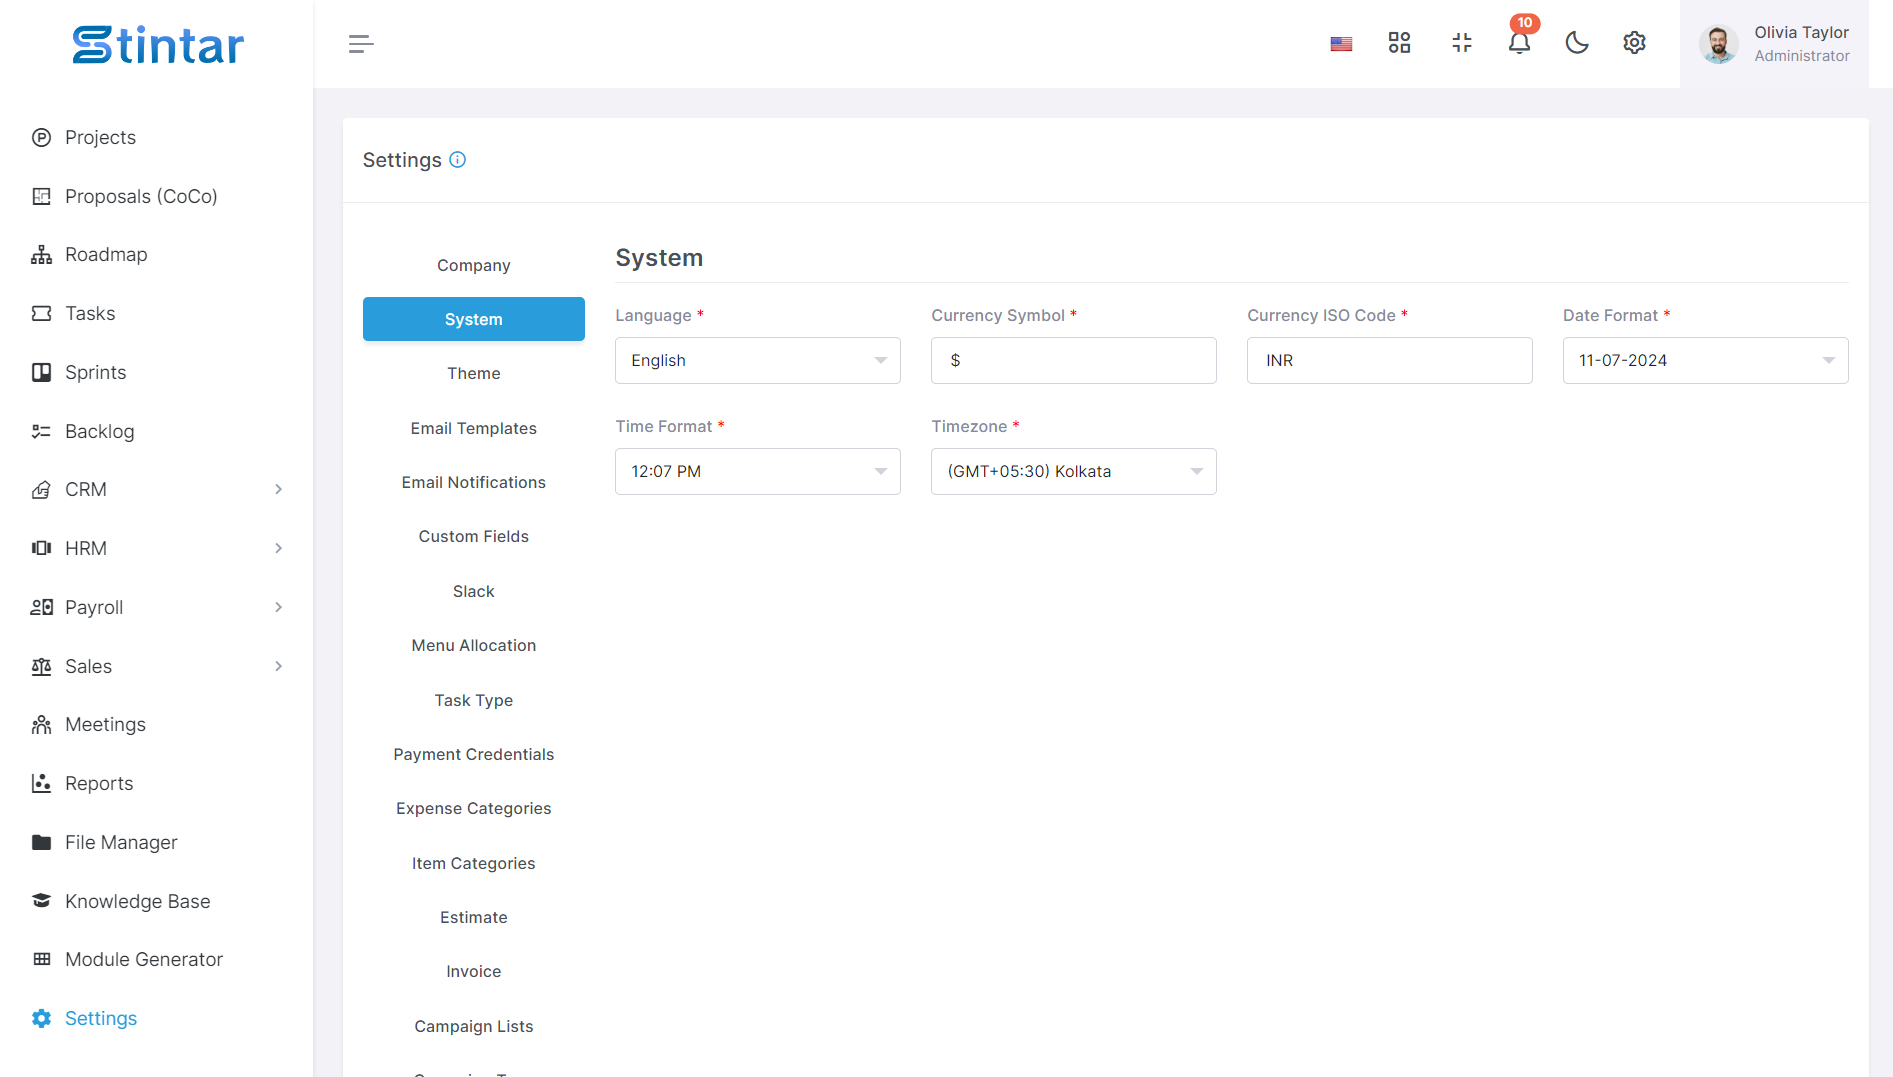
Customizing your Stintar experience is effortless with our comprehensive system settings. Tailor your preferences to match your needs precisely using the following fields:
Language: Select from 14 built-in languages to navigate Stintar in your preferred language.
Currency Symbol: Define your currency symbol to match your local currency.
Currency ISO Code: Specify the ISO code for your currency for accurate representation in financial transactions.
Date Format: Customize the date format to align with your regional conventions.
Time Format: Choose between 12-hour and 24-hour time formats to suit your timekeeping preferences.
Time Zone: Set your time zone to accurately reflect your location.
With Stintar's intuitive system settings, personalizing your experience has never been easier. Fine-tune Stintar to your exact specifications and enjoy seamless navigation tailored to your needs.
Theme Settings
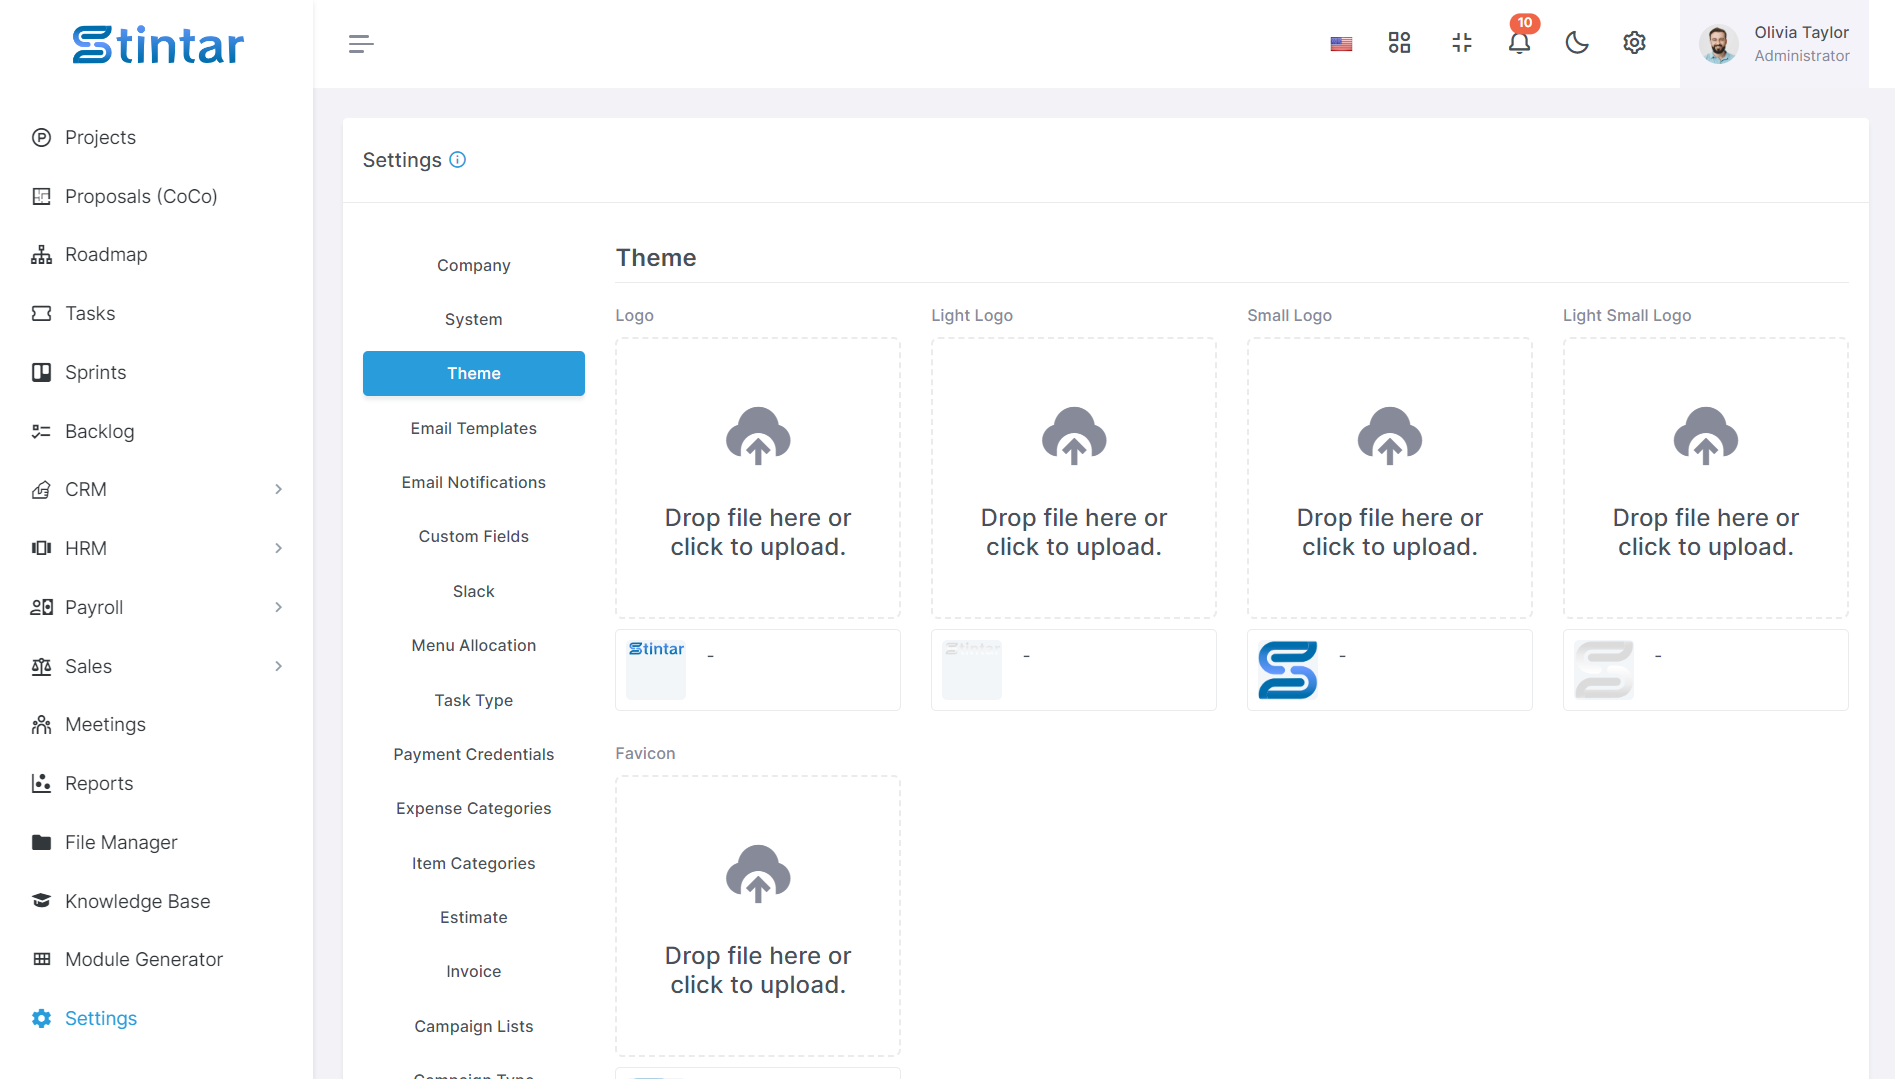
To change your company logo, sidebar logo, and favicon in the system's theme settings, follow these steps:
Company Logo: Upload your company's logo image to replace the current one displayed in the system's header.
Sidebar Logo: Upload a logo image specifically designed for the sidebar, ensuring it fits appropriately and maintains clarity.
Favicon: Upload a favicon image to represent your company's branding in web browser tabs and bookmarks.
By updating these theme settings with your company's logos and favicon, you can ensure consistent branding and visual representation across the system, enhancing recognition and professionalism.
Email Templates
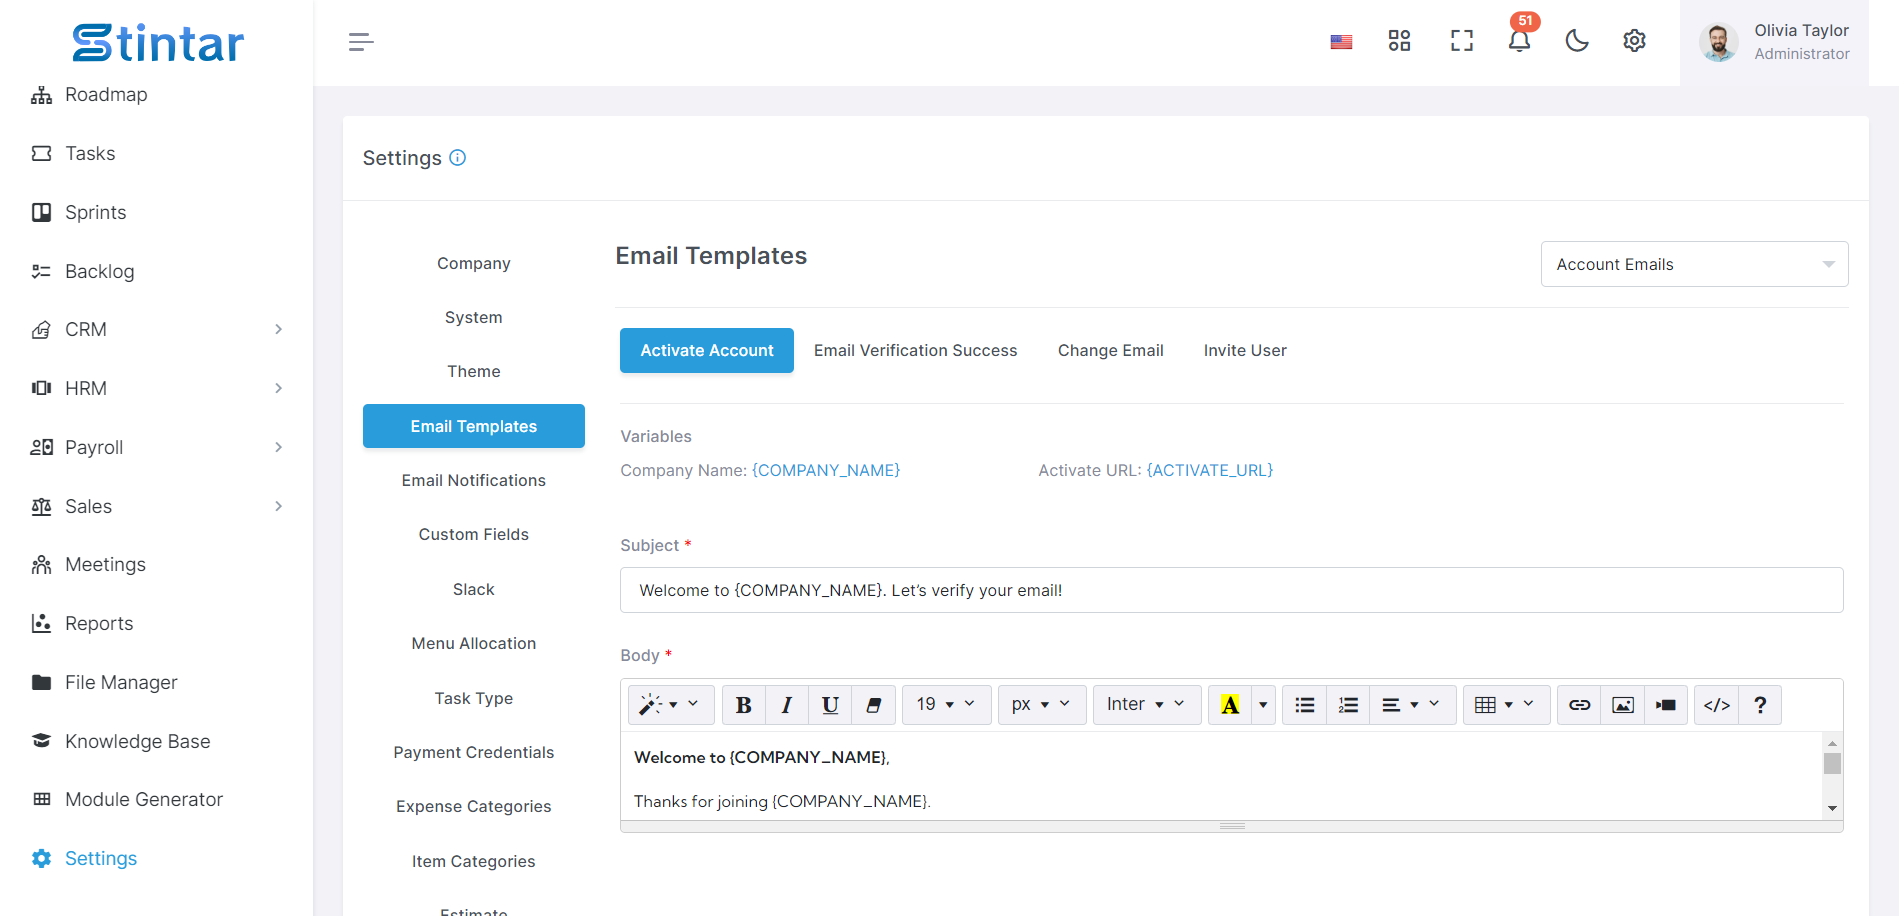
To modify the content of email templates and include dynamic variables for personalized subject lines and messages, follow these steps:
Subject: Customize the subject line of the email template to include dynamic variables such as {USERNAME}, {COMPANY_NAME}, etc. These variables will be replaced with actual user-specific or system-specific values when the email is sent.
Message: Modify the body of the email template to include dynamic variables for personalized messages. Incorporate placeholders such as {USERNAME}, {COMPANY_NAME}, etc., which will be replaced with relevant information based on the recipient or system context.
By leveraging dynamic variables within email templates, you can tailor communications to individual users or situations, enhancing engagement and relevance.
Email Notification
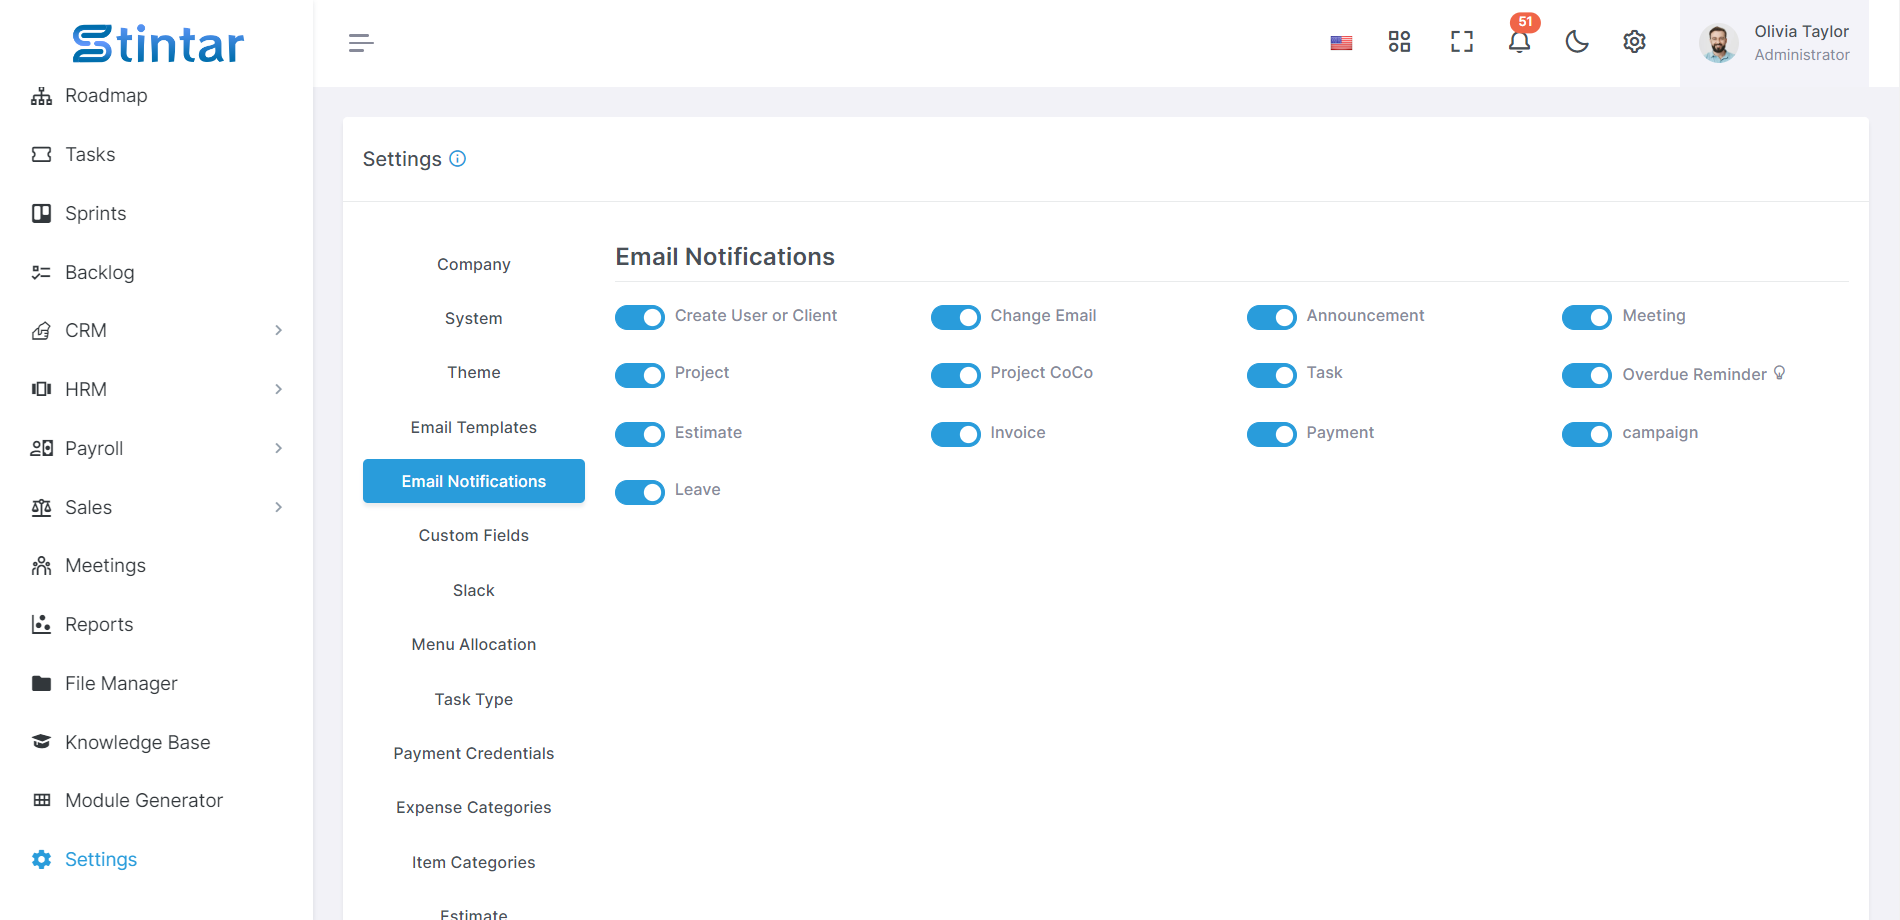
To manage email notifications for specific modules, follow these steps:
Access the Email Notifications section in your system settings.
You will find a list of modules for which email notifications can be configured. These may include:
Create User or Client
Change Email
Announcement
Meeting
Project
Project CoCo
task
Overdue Reminder
Estimate
Invoice
Payment
Campaign
Leave
Toggle the settings for each module to turn email notifications on or off based on your requirements.
Save the changes to update your email notification preferences.
By customizing email notification settings for individual modules, you can tailor your communication preferences and stay updated on specific activities relevant to your workflow.
Custom Fields
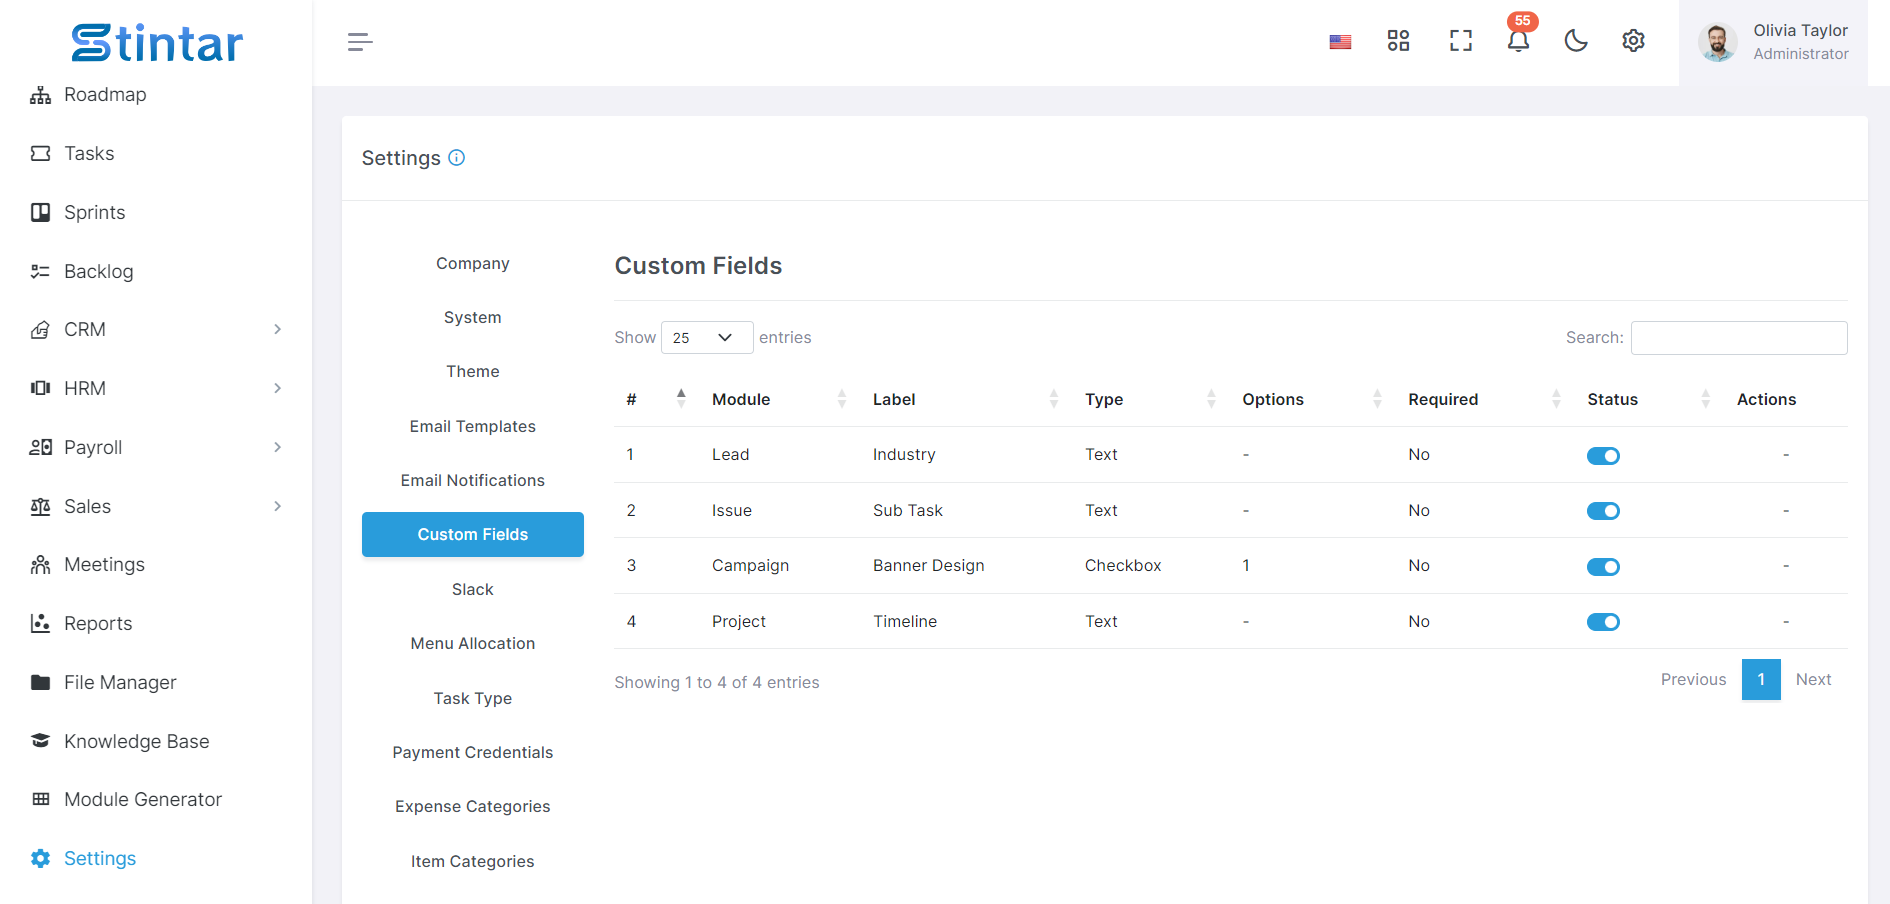
You have the flexibility to create unlimited custom fields tailored to your requirements for the projects, tasks, and leads modules. Here's how you can manage them effectively:
Creation: Generate custom fields according to your specific needs within the projects, tasks, and leads modules. These custom fields allow you to capture and organize additional information relevant to your workflow.
Activation: Activate or deactivate custom fields using the action button to control their visibility within the modules. Only active custom fields will be displayed in the projects, tasks, and leads modules, ensuring clarity and efficiency.
Editing: Modify the properties or configurations of custom fields as needed. You can adjust labels, data types, default values, and other parameters to align with evolving requirements.
Deletion: Remove obsolete or redundant custom fields by deleting them from the system. This helps streamline data management and prevents clutter in your interface.
By managing custom fields dynamically, you can tailor your system to accommodate evolving needs and capture relevant information effectively across projects, tasks, and leads modules.
Slack
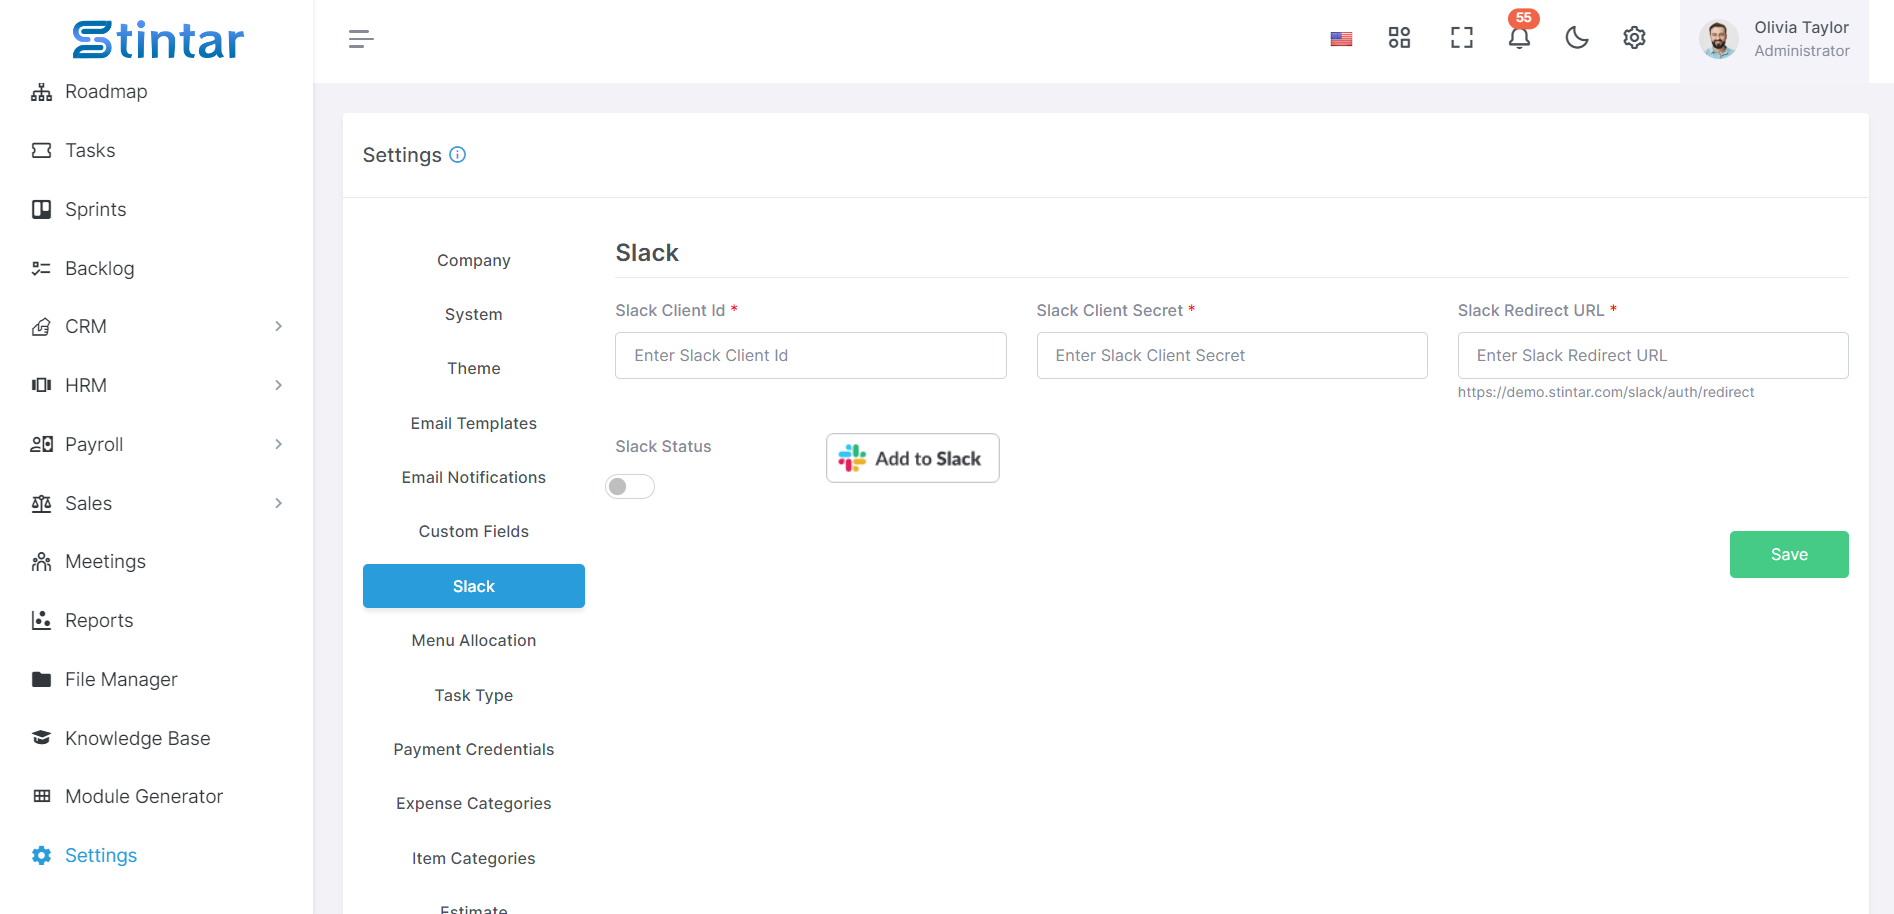
Sign in to Slack: Visit the Slack website and sign in to your account using your credentials.
Create Workspace: If you don't have a workspace yet, create one by clicking on "Create a workspace" and following the on-screen instructions.
Create an App Inside the Workspace: Once you're signed in to your workspace, navigate to the "Apps" section.
Create New App: Click on "Create New App" to initiate the process of creating a new app for your workspace.
Select "From Scratch": Choose the option to create the app from scratch to have full control over its configuration.
Name the App & Choose Workspace: Give your app a descriptive name that reflects its purpose. Select the workspace where you want to install the app.
Activate Incoming Webhooks: In your app's settings, locate the "Incoming Webhooks" section. Activate Incoming Webhooks to enable your app to receive messages from external services.
By following these steps, you'll be able to set up a Slack integration, create a new app within your workspace, and activate Incoming Webhooks to facilitate communication between your app and Slack.
Menu Allocation
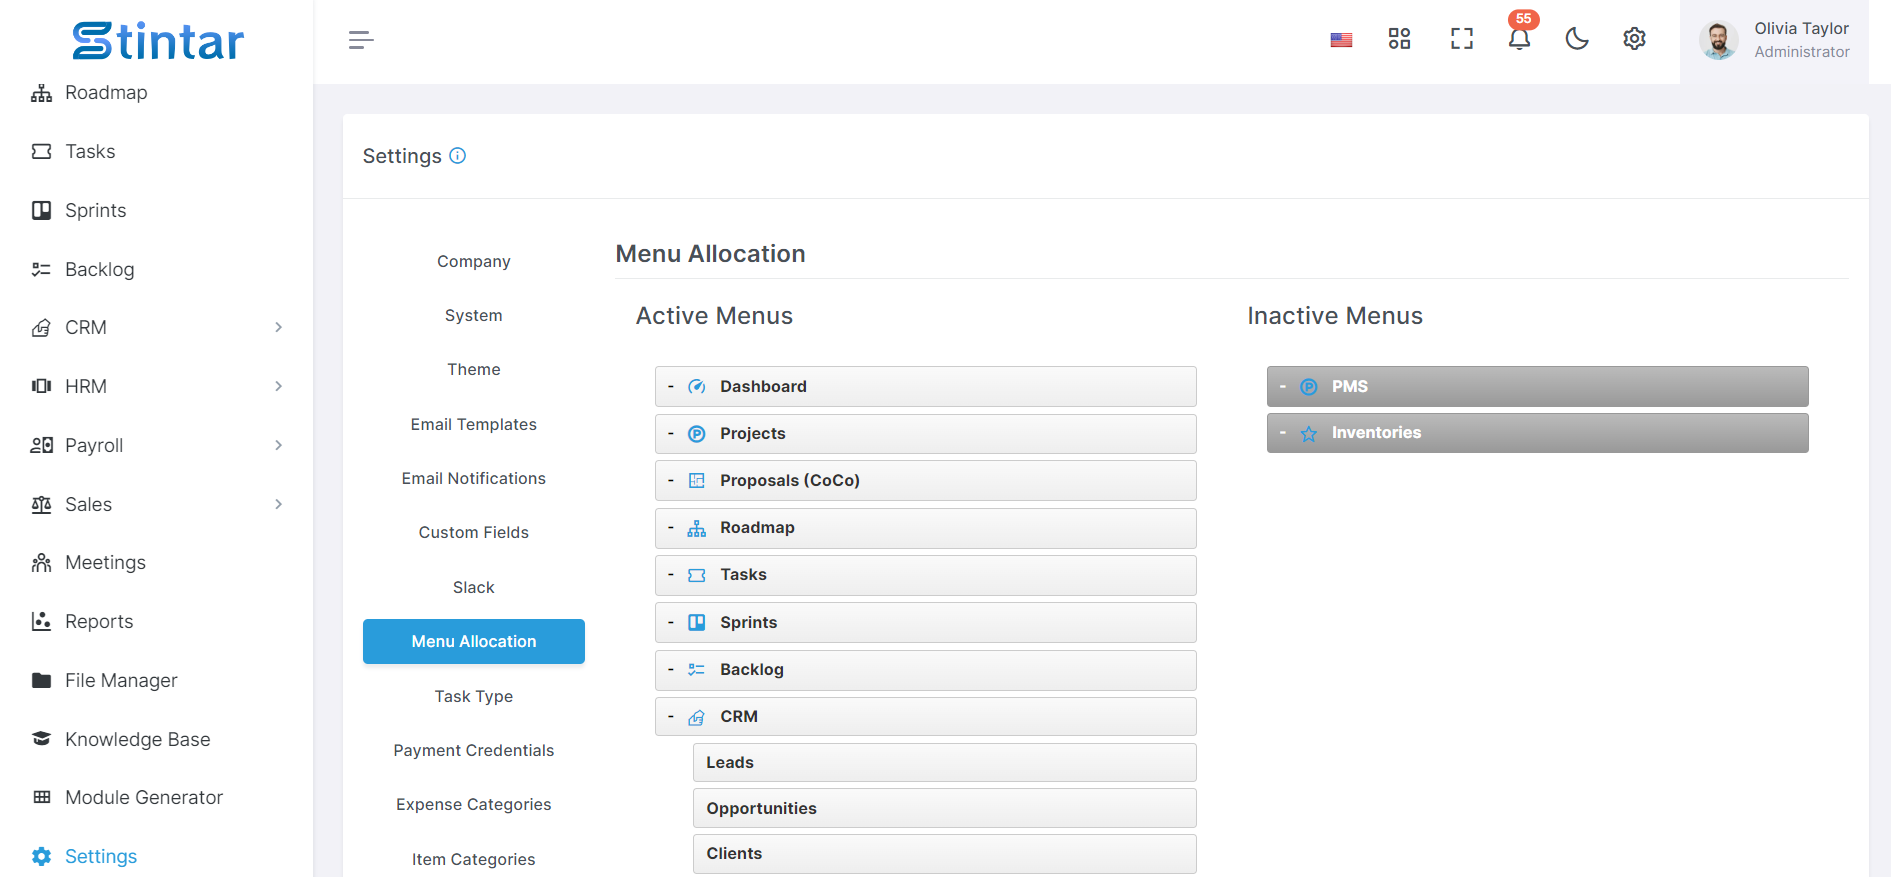
Customize your sidebar menu according to your preferences with ease using the following features:
Drag and Drop: Click and drag the menu items to rearrange their position within the sidebar. This intuitive action allows you to organize the menu according to your preferred order.
Activate/Inactive: Enable or disable menu items by dragging and dropping them. Simply move the menu item to the desired section of the sidebar to activate or deactivate it.
By utilizing the drag-and-drop functionality, you can effortlessly adjust the layout and content of your sidebar menu, ensuring easy access to the most relevant features and functionalities based on your style and workflow requirements.
Task Type
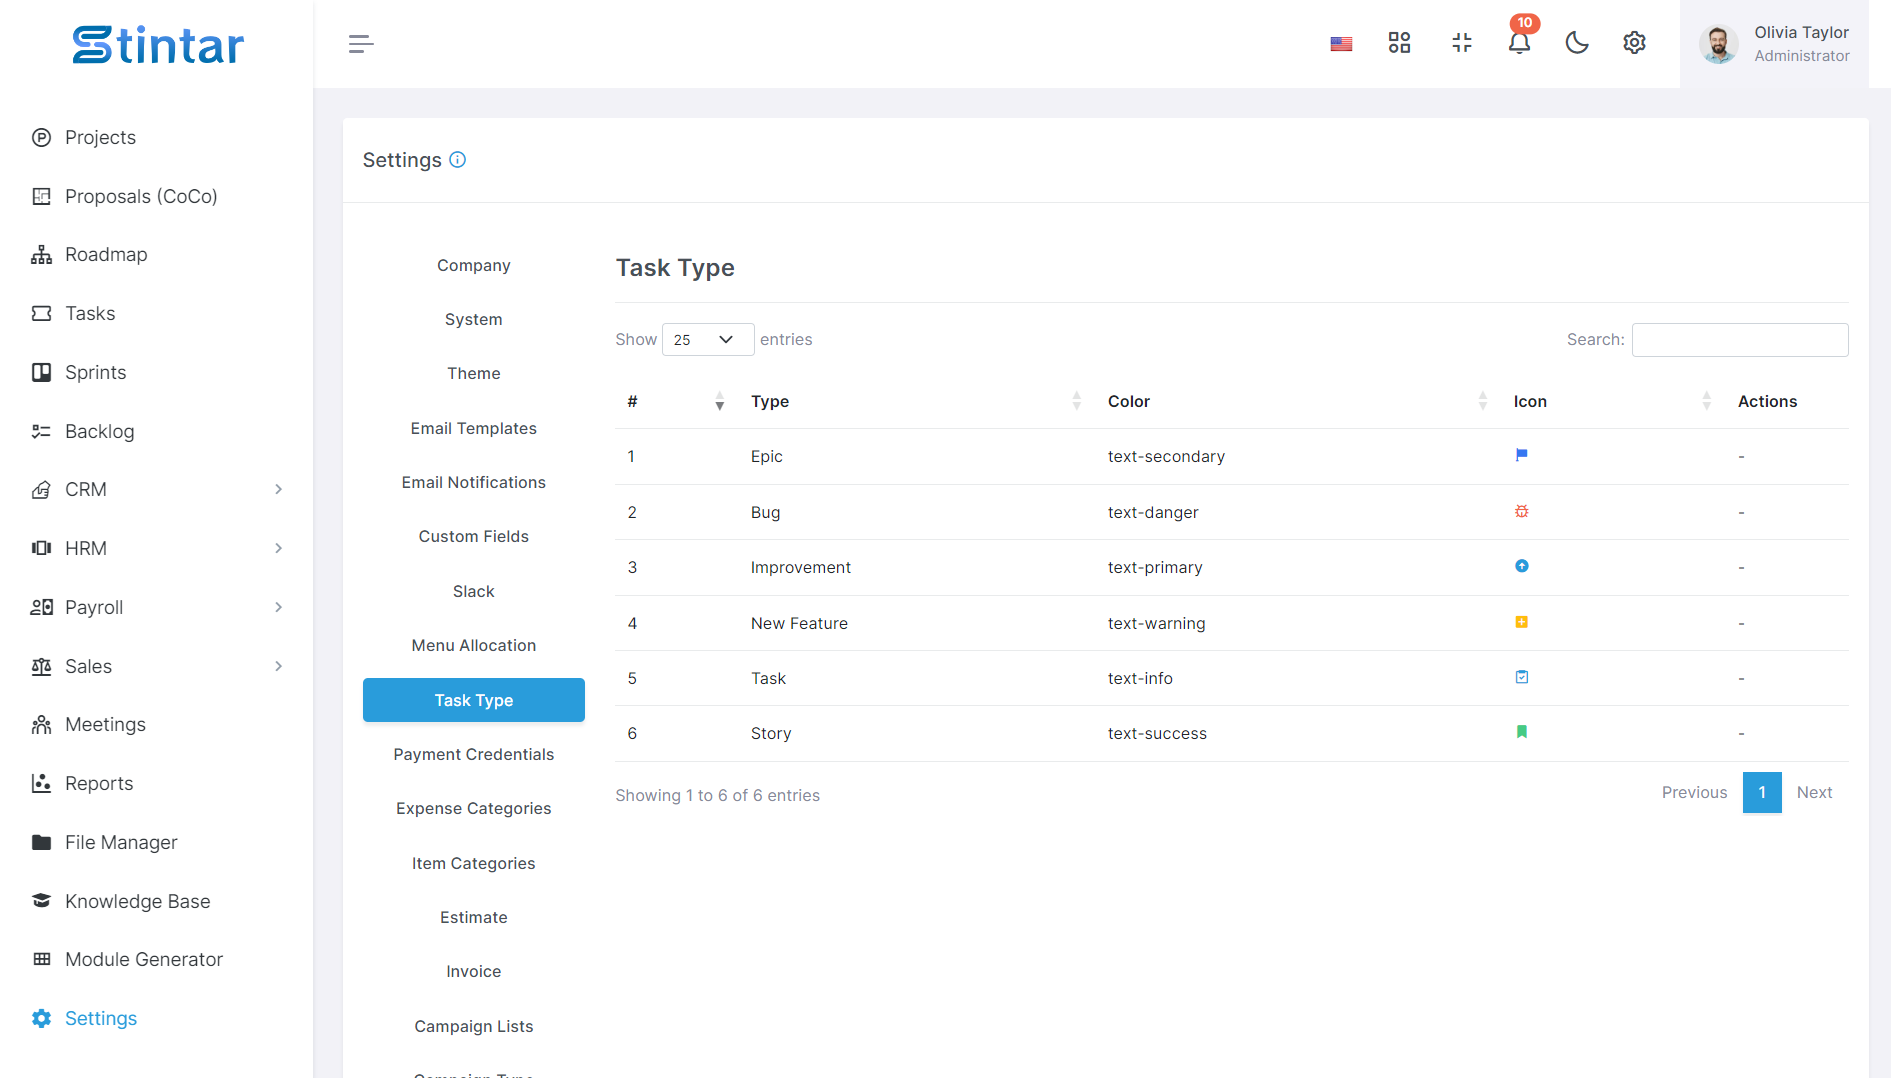
Enhance your task management by creating dynamic task types tailored to your specific needs. Follow these steps to create and customize task types:
Create New task Types: Generate multiple task types based on your requirements. These task types can represent different categories or classifications of tasks within your system.
Customize Name, Color, and Icon: Modify the name, color, and icon of each created task type to distinguish them visually and make them easily identifiable. Choose descriptive names, distinct colors, and appropriate icons to reflect the nature of each task type effectively.
System Default task Types: Note that while you can customize the created task types, you cannot modify the default task types provided by the system. These default types serve as standard categories within the task management framework.
By creating and customizing multiple dynamic task types, you can effectively categorize and prioritize tasks according to their nature, facilitating streamlined task management and resolution processes.
Payment Credentials
You can manage payment credentials through two different types:
Payment Gateway
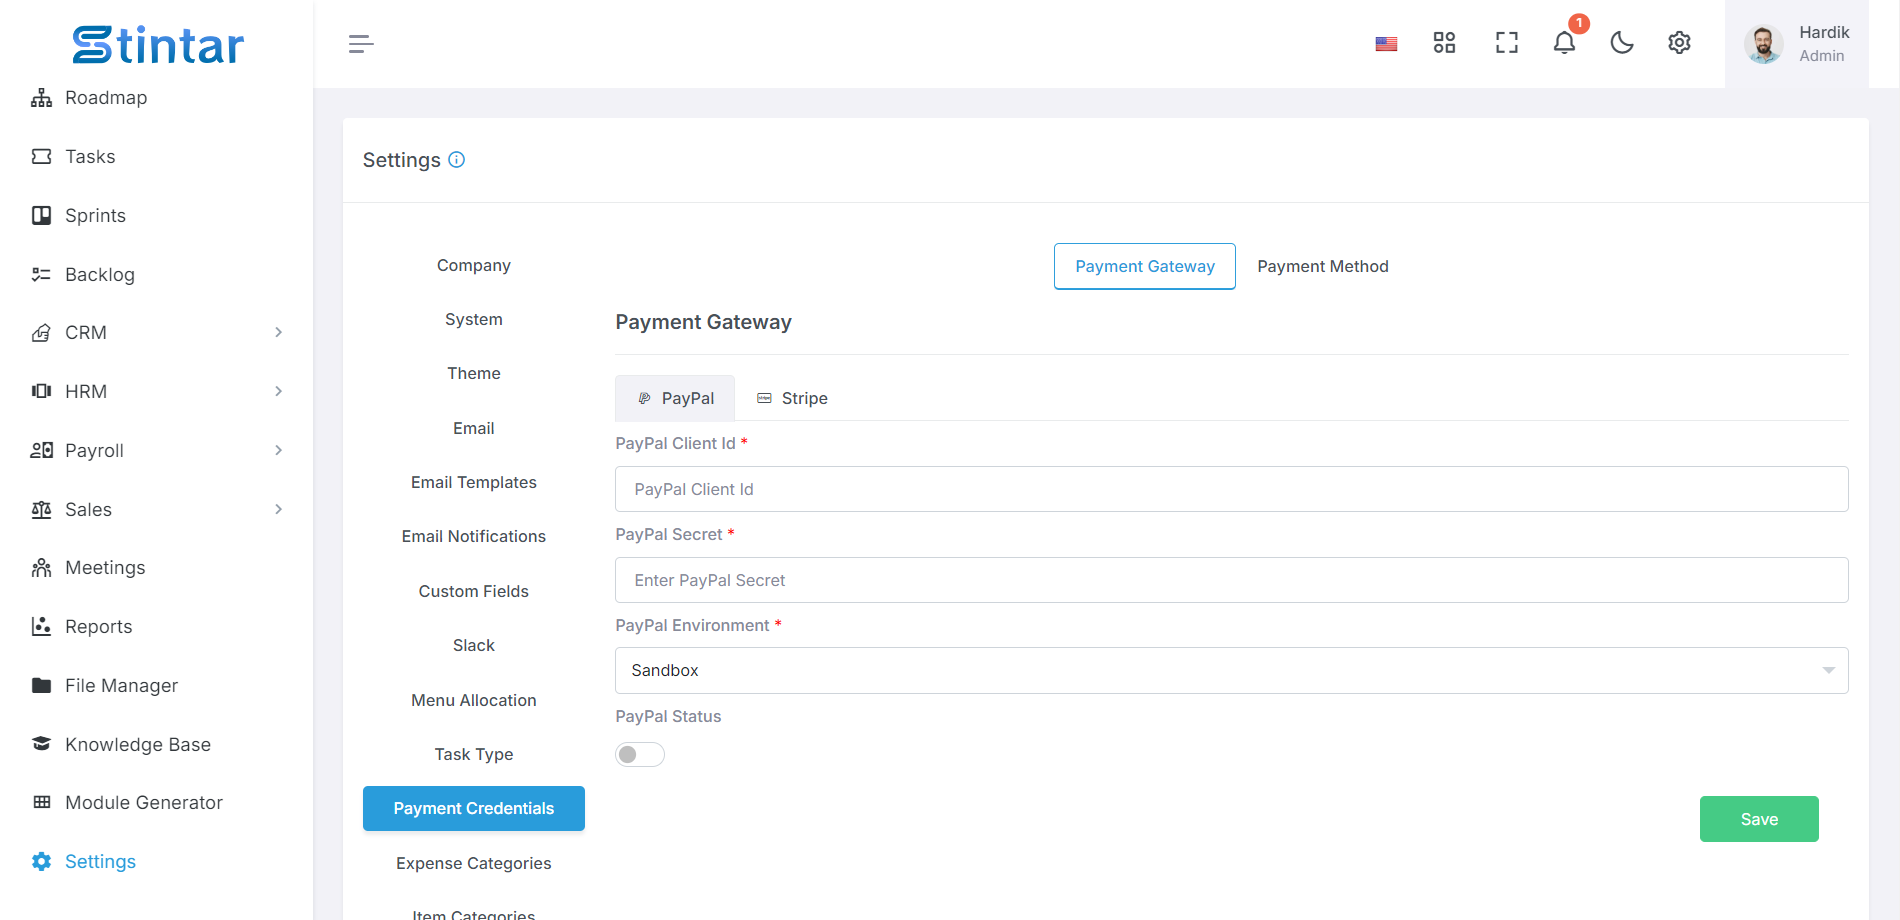
Update payment gateway credentials for PayPal and Stripe securely within the system.
Navigate to the designated section for Payment Gateway.
Click on the respective options for PayPal and Stripe to input or update the required credentials.
Ensure the accuracy of the information provided for seamless payment processing.
Payment Method
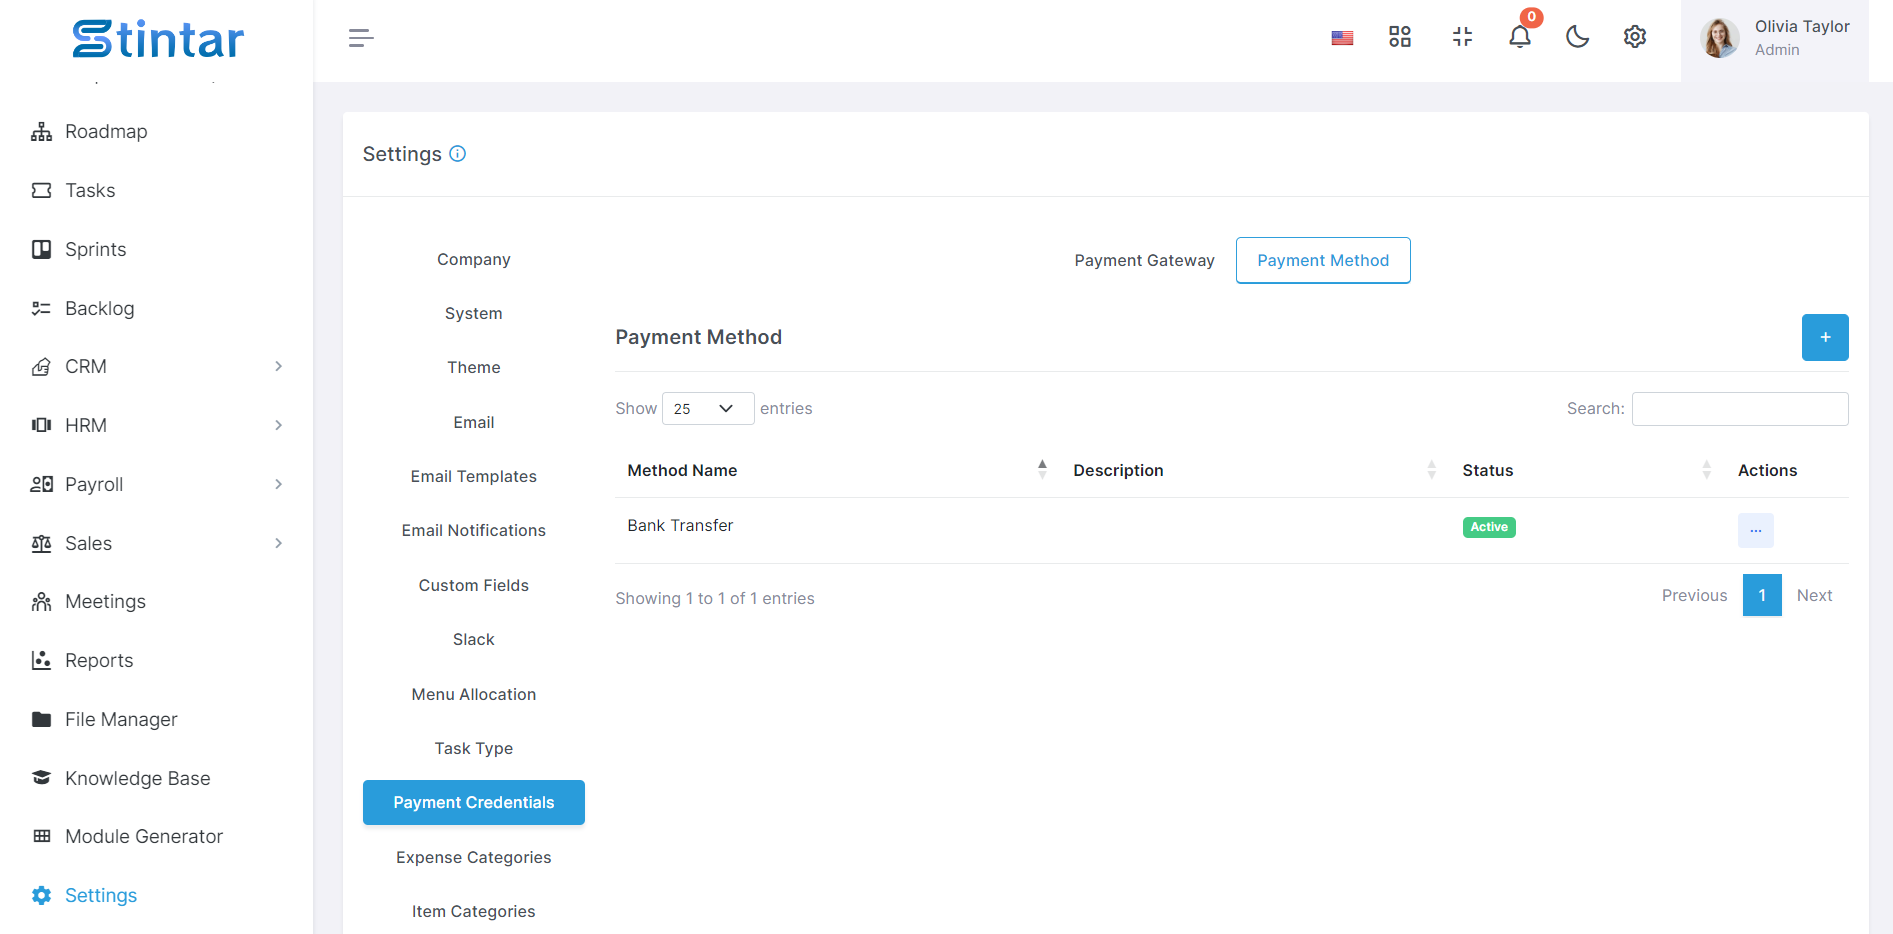
Create, update, or delete offline payment methods as needed.
Access the Payment Method section within the system's settings.
Utilize the available options to create new payment methods or modify existing ones to accommodate offline payment transactions.
Delete outdated or unnecessary payment methods to maintain clarity and efficiency.
By managing payment credentials effectively through these two types, you can ensure smooth and secure payment processing for your transactions, whether online through payment gateways like PayPal and Stripe or offline using customized payment methods.
Expense Categories
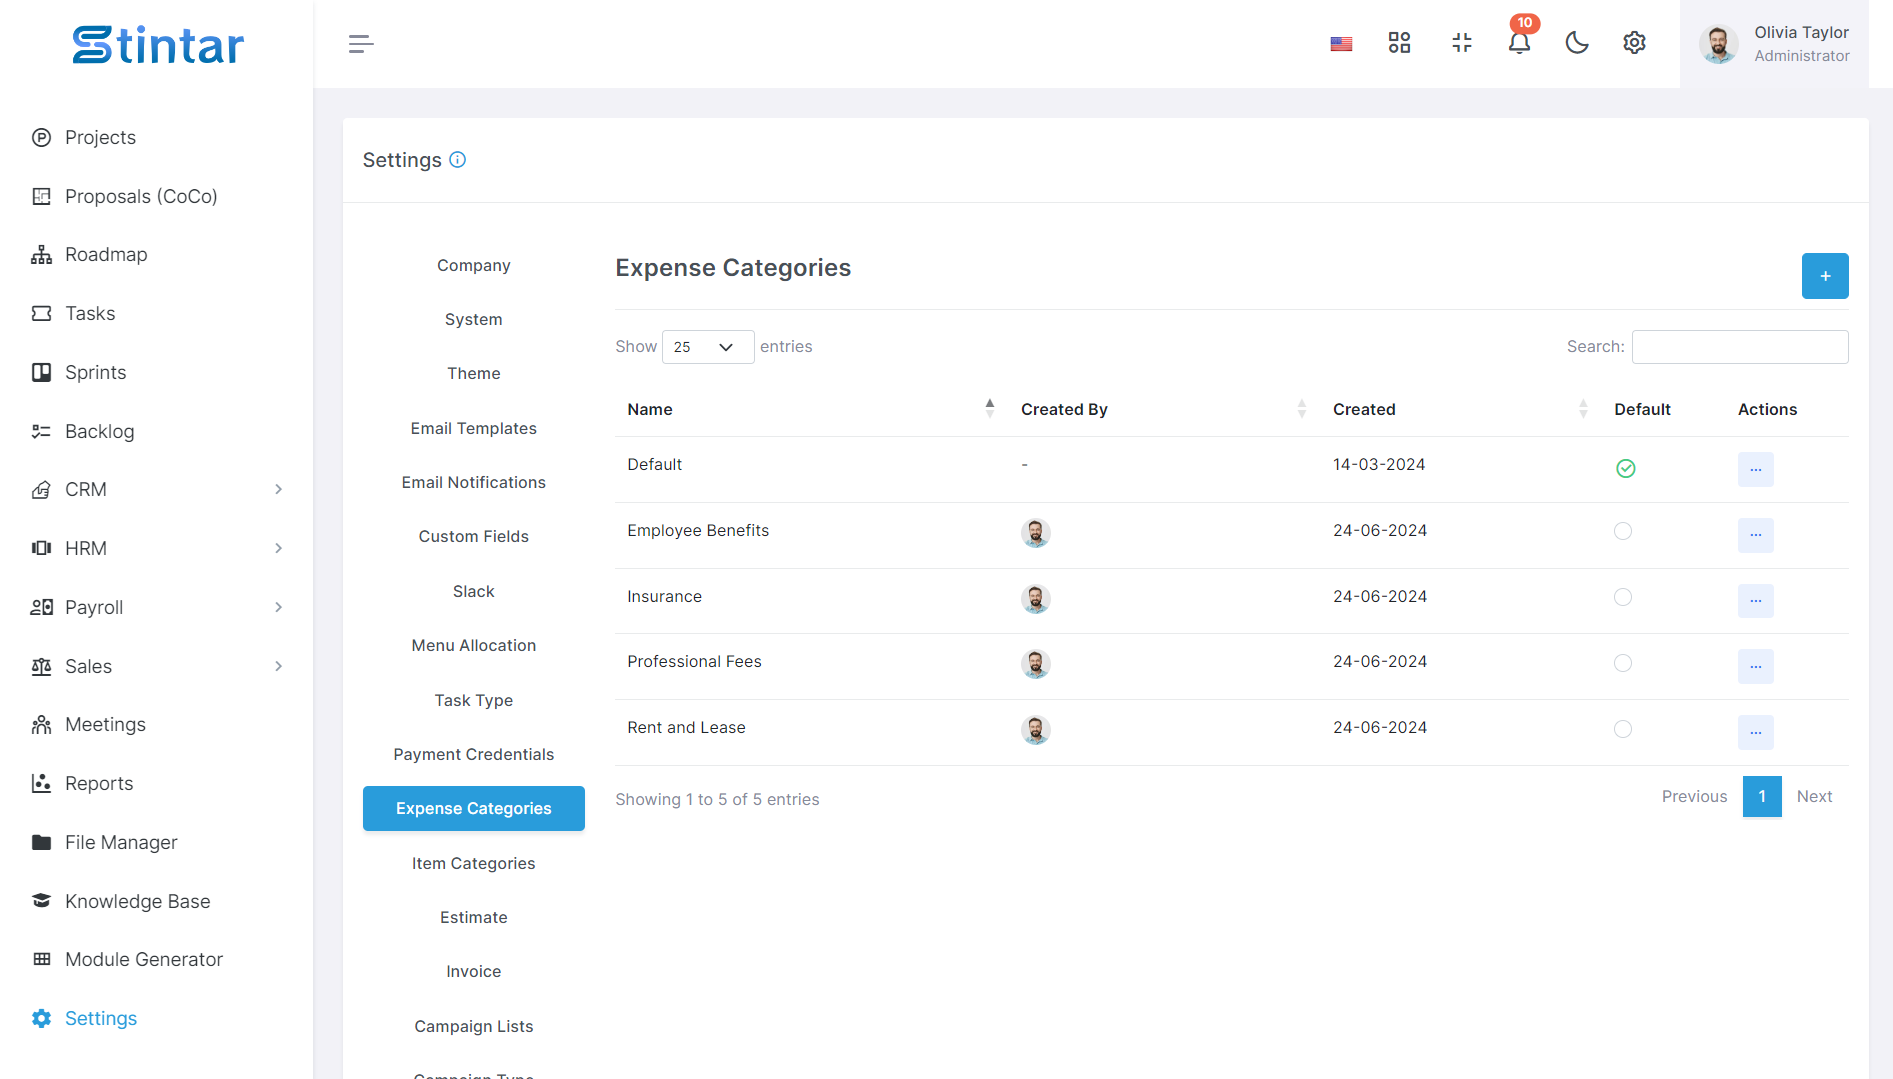
Expense categories play a crucial role in organizing and tracking expenses efficiently. Here's how you can manage them:
Create/Edit/Delete Expense Category
Create new expense categories to group expenses based on their nature or purpose.
Edit existing expense categories to update their names or descriptions as needed.
Delete outdated or unnecessary expense categories to streamline the categorization process.
Set Default Category
Choose a default expense category to streamline expense entry and ensure consistency.
The default category will be pre-selected when adding new expenses, simplifying data entry and minimizing errors.
By effectively managing expense categories, you can enhance the organization and analysis of your financial data, facilitating better decision-making and financial control.
Item Categories
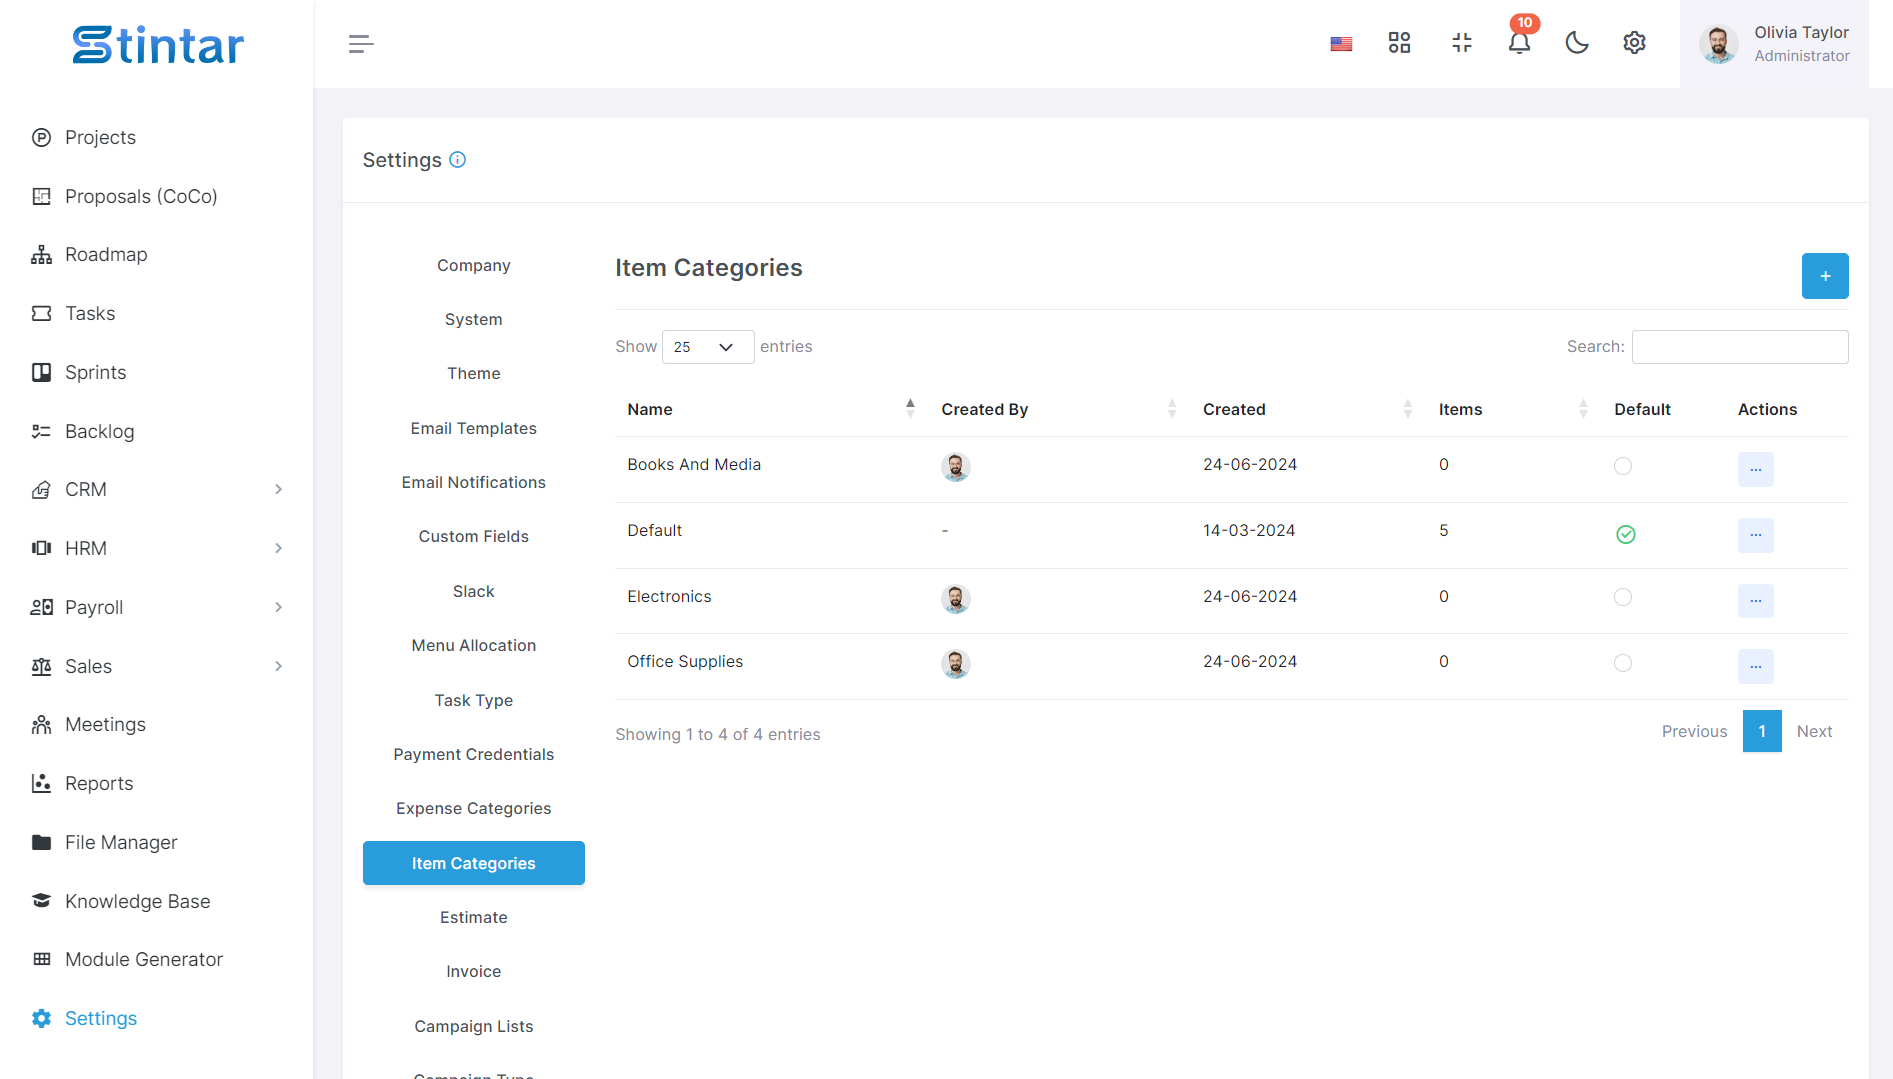
Item categories are pivotal in organizing and classifying items effectively. Here's how to manage them:
Create/Edit/Delete Item Categories
Create new item categories to group items based on common characteristics or purposes.
Edit existing item categories to update their names or descriptions, ensuring accuracy and relevance.
Delete redundant or outdated item categories to streamline the classification process.
Set Default Value
Designate a default item category to streamline item management and ensure consistency.
The default category will be automatically assigned to new items, simplifying item creation and reducing manual input.
By efficiently managing item categories, you can streamline inventory management processes, improve data organization, and enhance overall operational efficiency.
Estimate
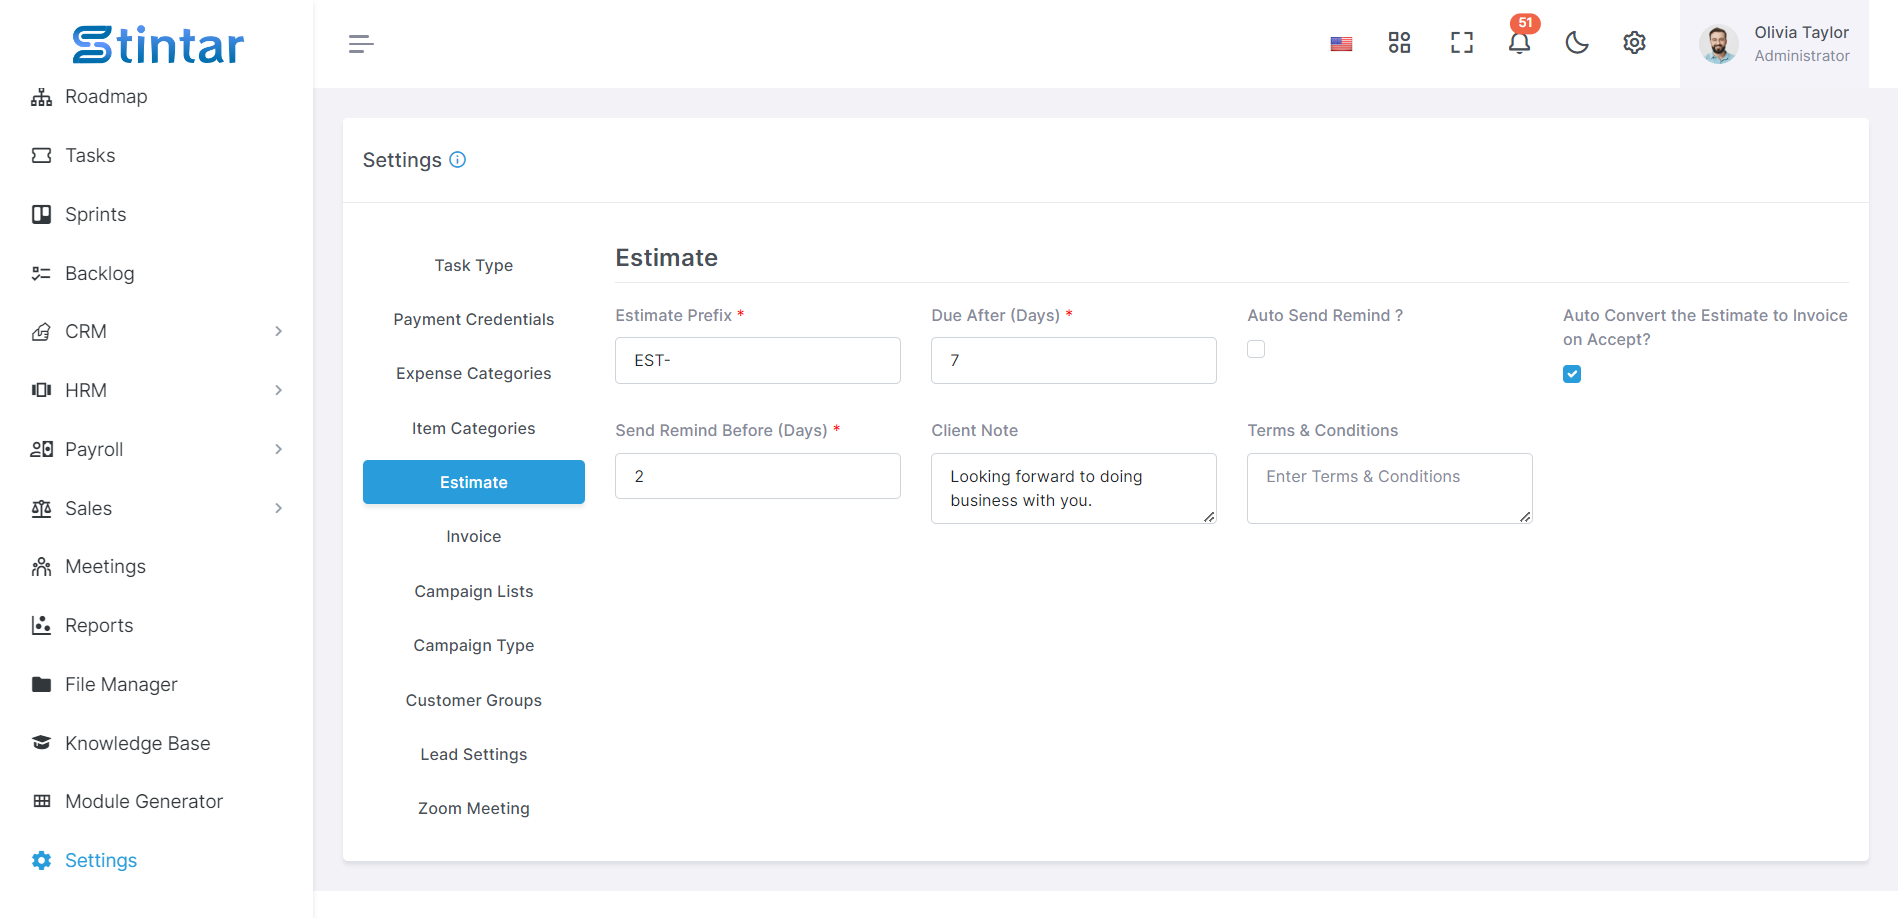
Estimate settings are essential for configuring the parameters and preferences related to estimates. Here's how you can manage them:
Prefix: Define a prefix for your estimates to distinguish them from other documents, such as invoices or quotes.
Due After: Specify the number of days after which an estimate is due for payment once it's sent to the client.
Auto Send Reminder: Enable or disable automatic reminders to be sent to clients for pending estimates.
Auto Convert Estimate to Invoice: Enable or disable the automatic conversion of accepted estimates into invoices to streamline the invoicing process.
Send Reminder Before (Days): Specify the number of days before the due date when reminder emails should be sent to clients.
Client Note: Provide space for adding client-specific notes or comments to be included in the estimate.
Terms & Conditions: Define the terms and conditions associated with the estimates, outlining the contractual agreement between you and the client.
By configuring these estimate settings, you can customize the estimation process according to your business requirements, streamline communication with clients, and ensure clarity and transparency in your transactions.
Invoice
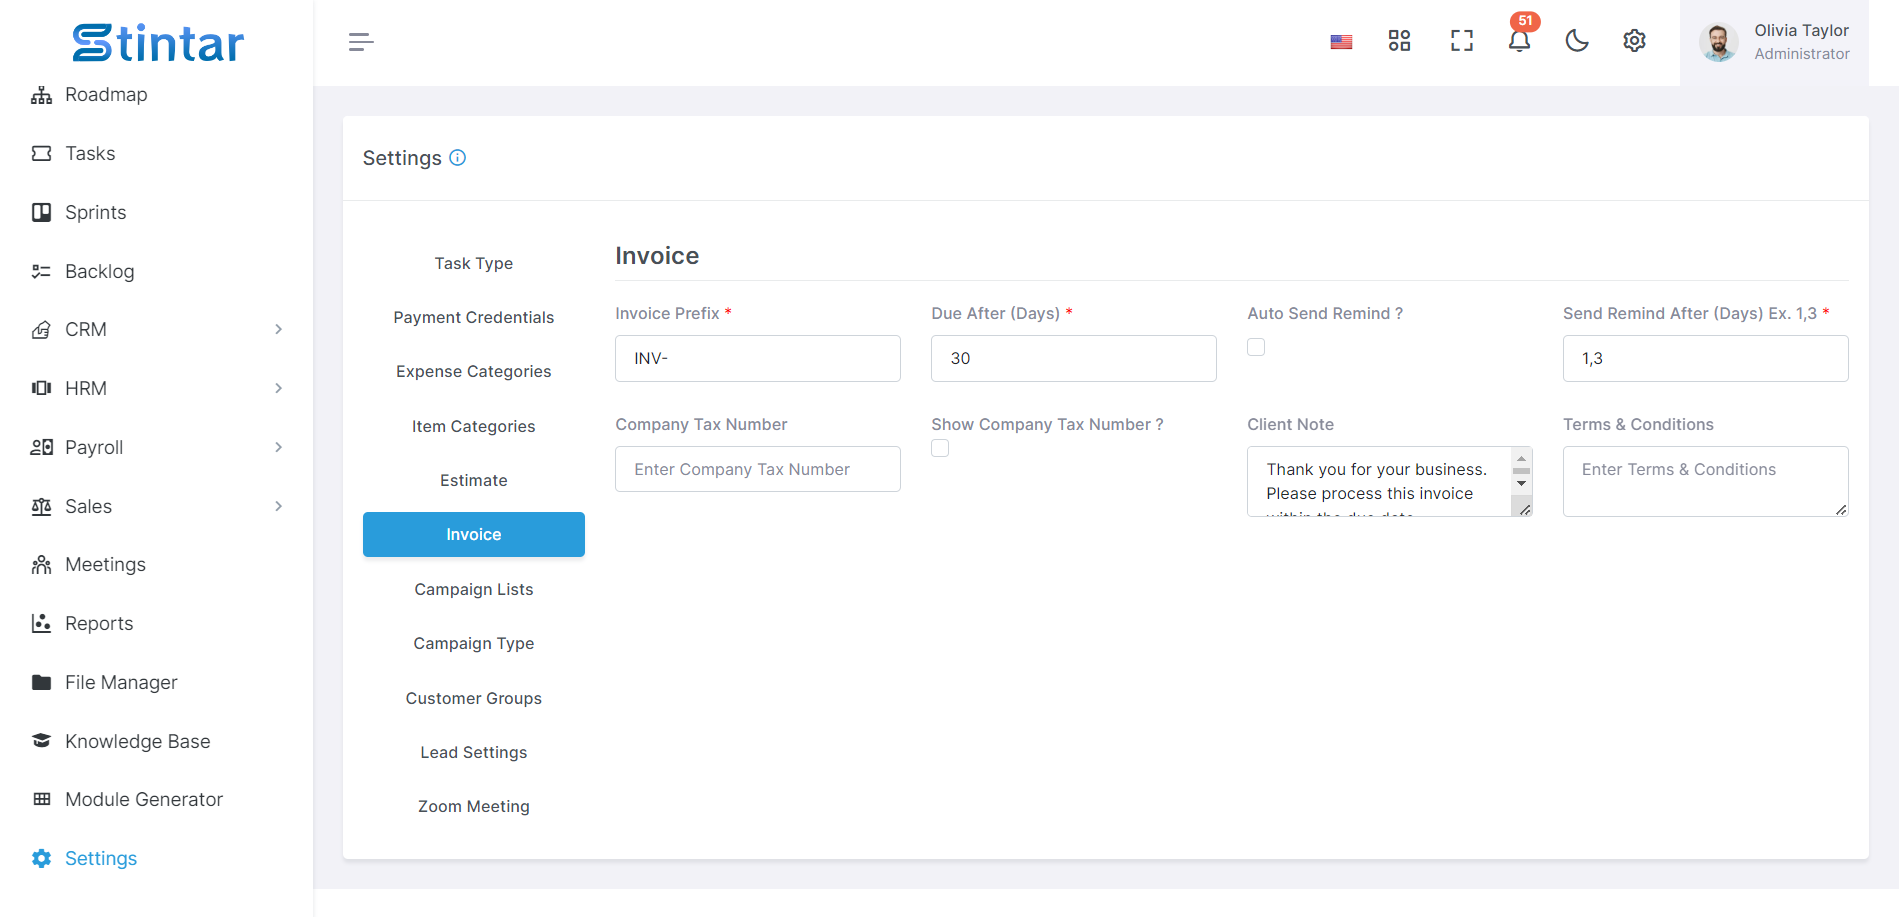
Customize your invoice settings to streamline invoicing processes and ensure compliance. Here's how you can manage them:
Prefix: Set a prefix for your invoices to differentiate them from other documents, such as estimates or quotes.
Due After: Specify the number of days after which an invoice is due for payment once it's taskd to the client.
Auto Send Reminder: Enable or disable automatic reminders to be sent to clients for overdue invoices.
Send Reminder After (Days): Define the number of days after the invoice due date when reminder emails should be sent to clients.
Company Tax Number: Input your company's tax number for inclusion on invoices, ensuring compliance with tax regulations.
Show Company Tax Number: Choose whether to display the company tax number on invoices or keep it hidden.
Client Note: Provide space for adding client-specific notes or comments to be included in the invoice.
Terms & Conditions: Define the terms and conditions associated with the invoices, outlining the contractual agreement between you and the client.
By configuring these invoice settings, you can tailor your invoicing process to meet your business needs, enhance communication with clients, and ensure legal compliance and clarity in your financial transactions.
Campaign Lists
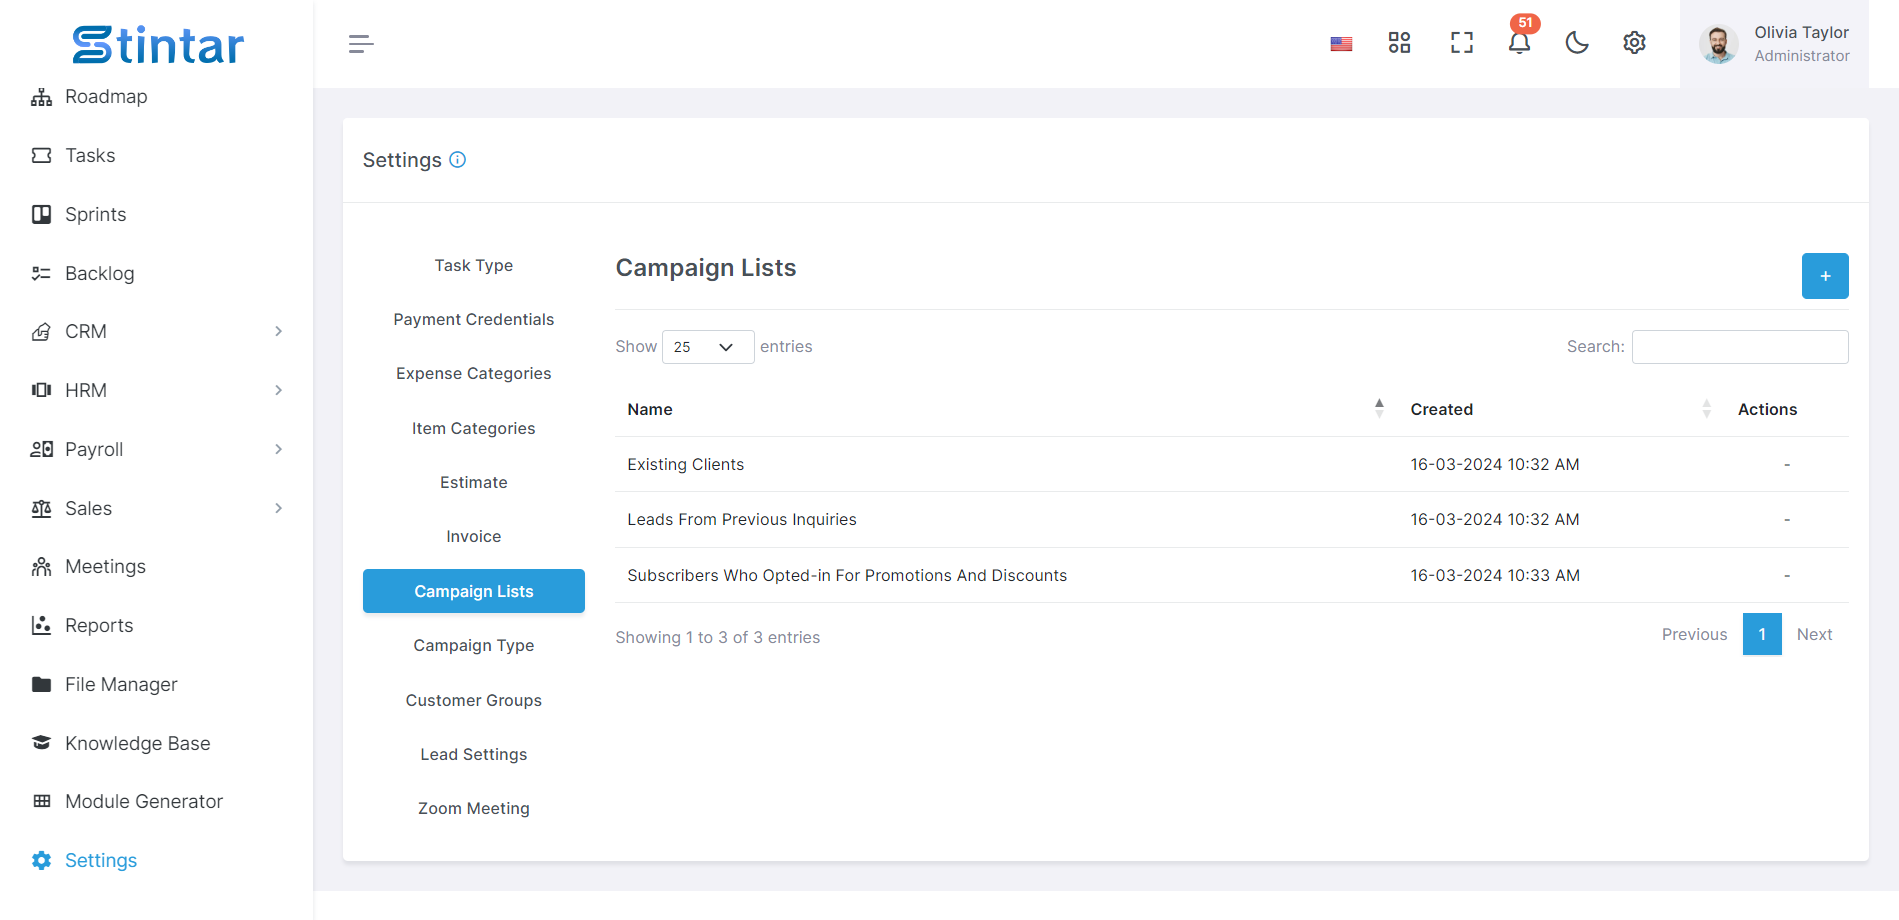
Campaign lists provide a structured approach to organizing and managing related marketing campaigns. Here's how to manage them effectively:
Create, Edit, and Delete Campaign Lists
Generate new campaign lists to group related marketing campaigns based on shared themes or objectives.
Edit existing campaign lists to update their names, descriptions, or associated campaigns as needed.
Delete obsolete or redundant campaign lists to maintain a streamlined organizational structure.
Integration with Lead, Opportunity, and Client
Associate campaign lists with leads, opportunities, and clients to track the effectiveness of marketing efforts and monitor their impact on sales.
Utilize campaign lists to categorize and manage leads, opportunities, and clients based on their interactions with specific marketing campaigns.
Mail Integration
Send targeted email campaigns to leads, opportunities, or clients directly from campaign lists, streamlining communication efforts and maximizing engagement.
By effectively managing campaign lists, you can coordinate and optimize your marketing efforts, enhance collaboration across teams, and improve overall campaign performance and ROI.
Campaign Type
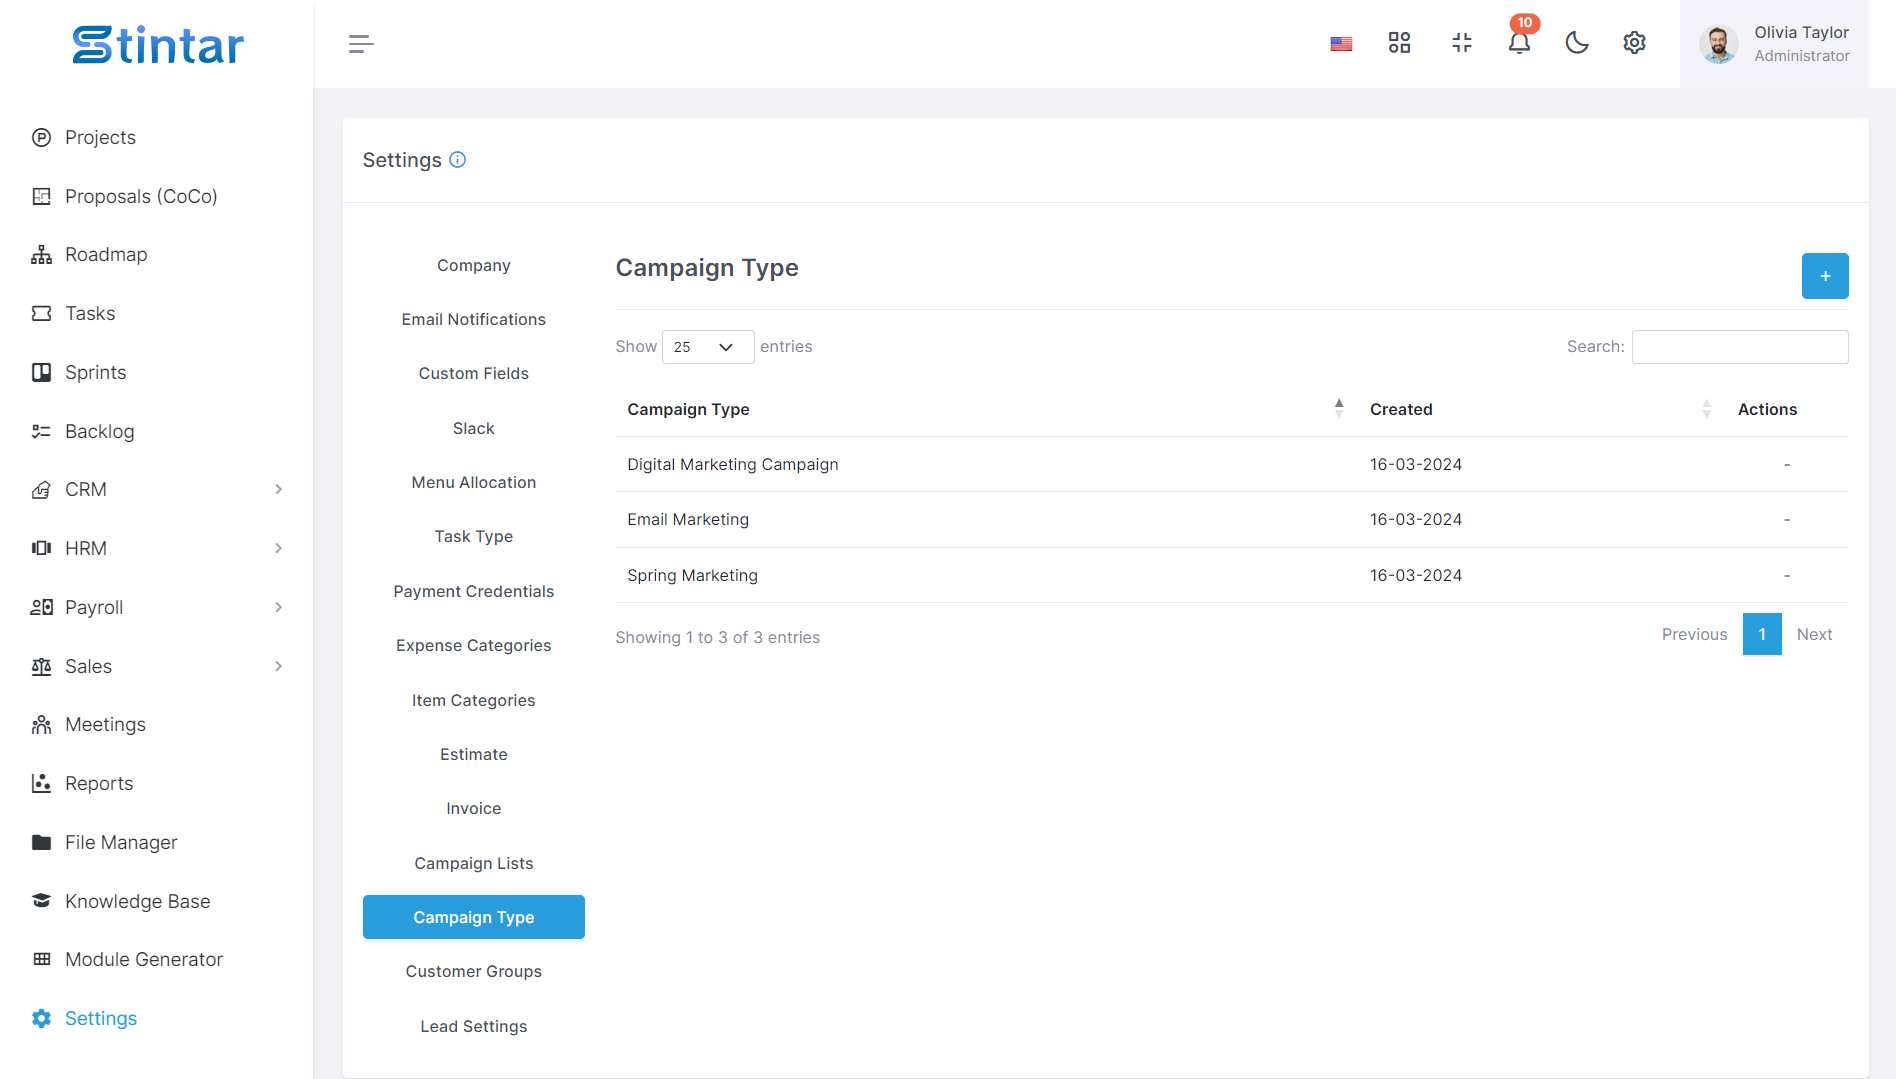
Efficiently organize your campaigns by managing campaign types. Here's how:
Create Campaign Types
Generate new campaign types to categorize campaigns based on their objectives, target audience, or other relevant criteria.
Edit Campaign Types
Modify existing campaign types to update their names or descriptions as needed to reflect changes in your marketing strategies or goals.
Delete Campaign Types
Remove obsolete or redundant campaign types to declutter your system and streamline campaign management.
By effectively managing campaign types, you can categorize and track your marketing efforts more efficiently, enabling better organization and analysis of campaign performance.
Customer Groups
Customer groups facilitate targeted marketing efforts and collaboration among similar-minded customers. Here's how to manage them:
Create Customer Groups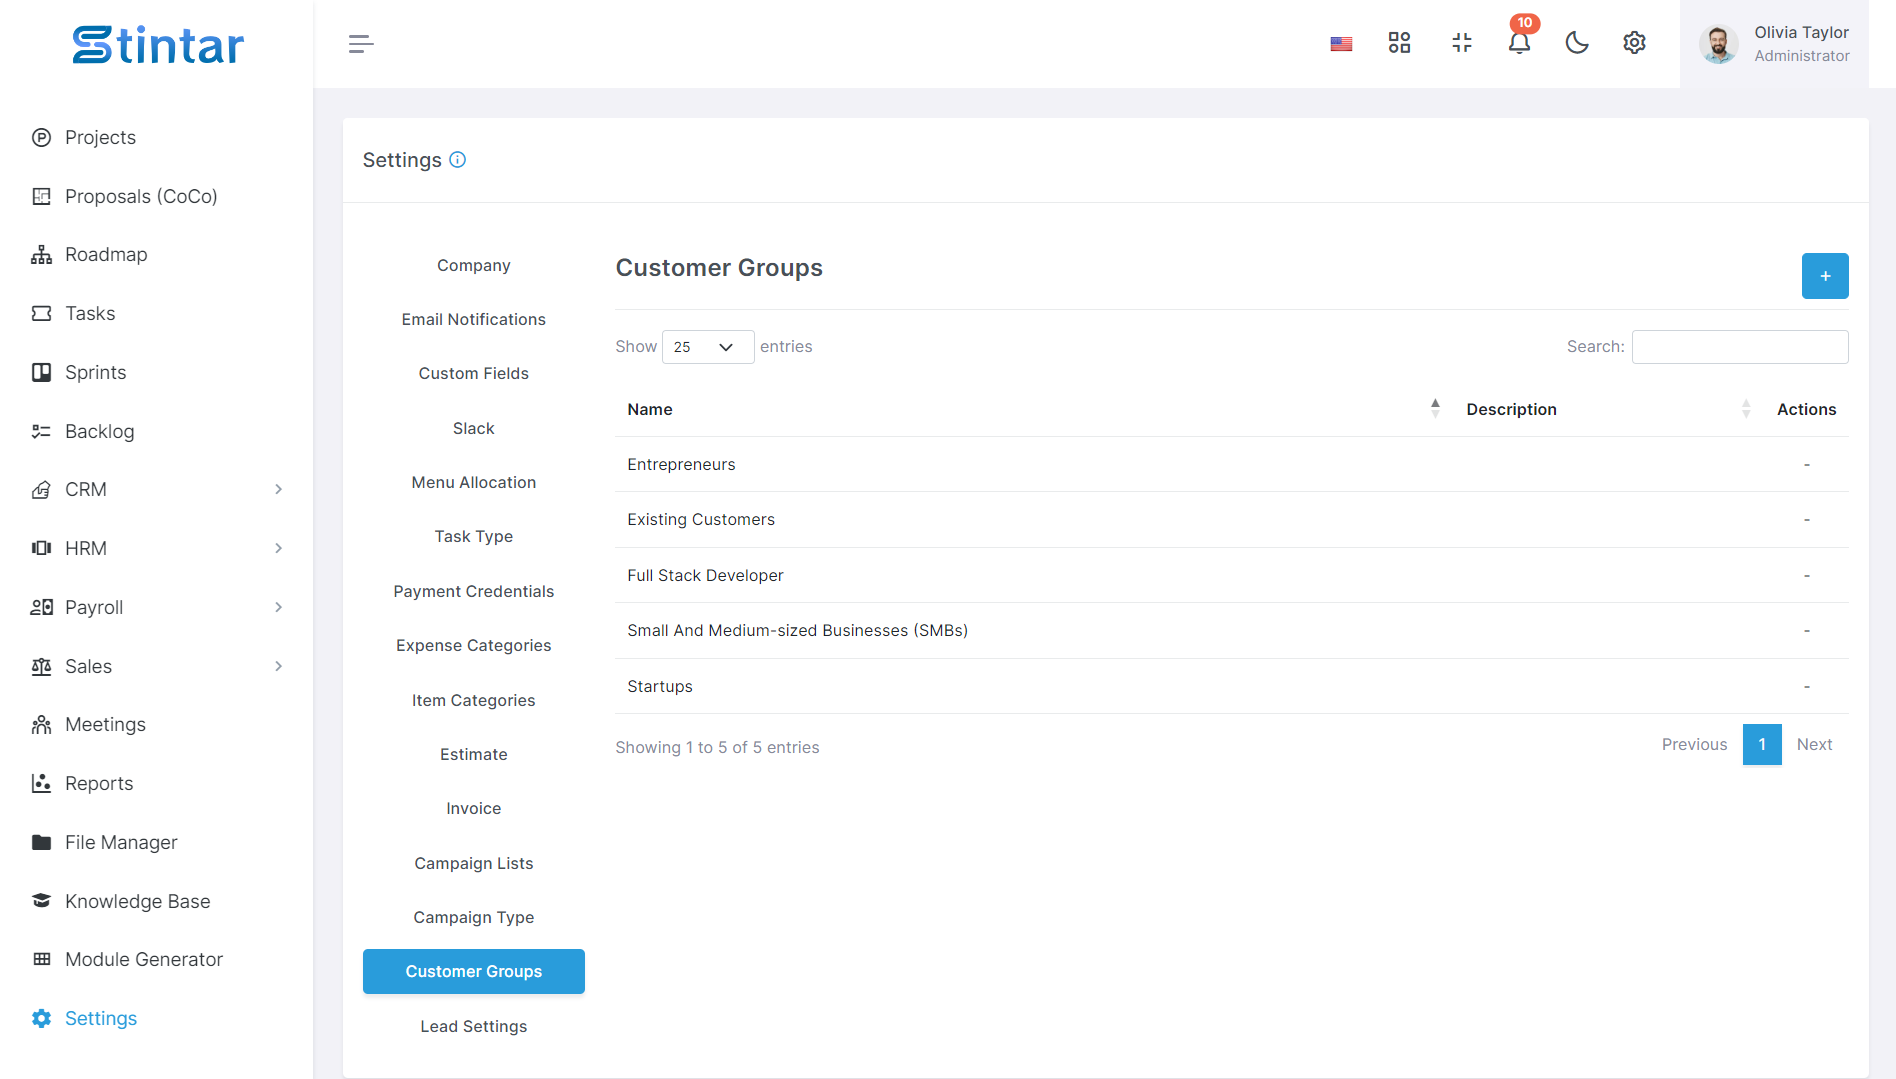
Generate new customer groups to gather prospective buyers or customers with similar needs and behaviours.
Define the characteristics or criteria that unify members of each group, such as demographics, interests, or purchasing behaviour.
Edit Customer Groups
Modify existing customer groups to update their names, descriptions, or criteria as needed.
Adapt the group parameters to reflect changes in your target audience or marketing strategies.
Delete Customer Groups
Remove obsolete or redundant customer groups to maintain a streamlined and relevant list.
Ensure that all members are properly notified of any changes to prevent confusion.
By effectively managing customer groups, you can tailor your marketing efforts to specific segments of your audience, maximize the value proposition for each group, and enhance overall customer engagement and satisfaction.
Lead Settings
Lead Source
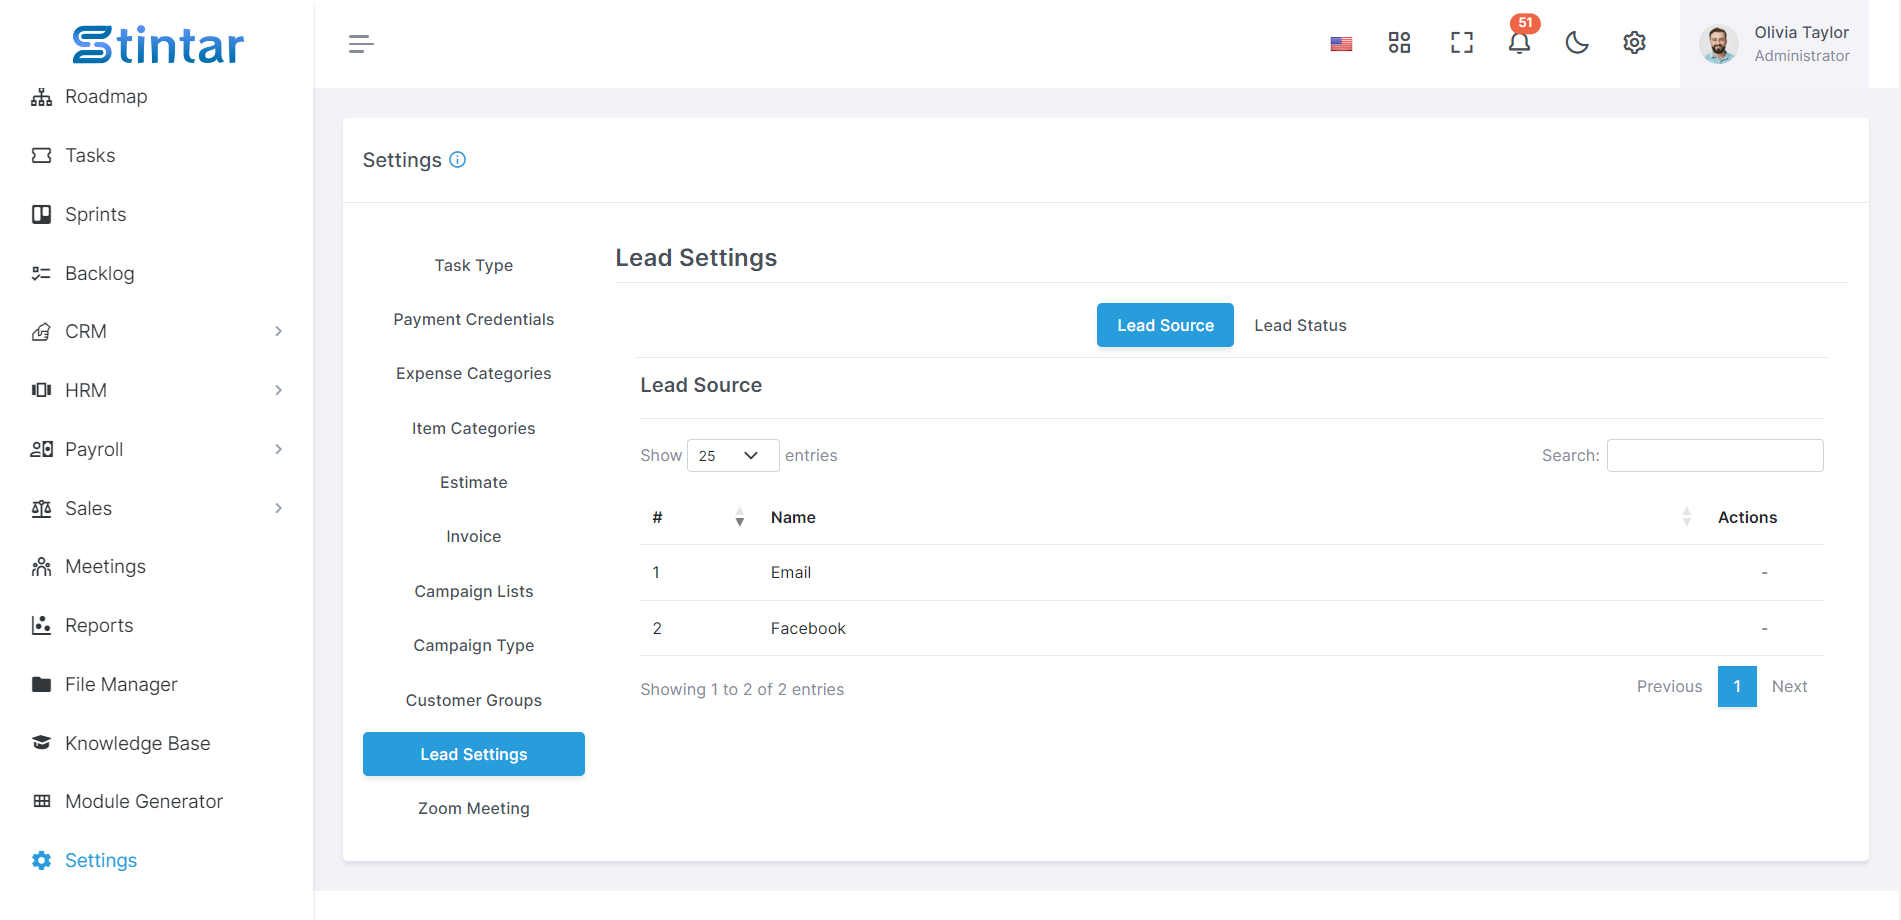
Create, Edit, Delete, or Rename Lead Sources
Establish various lead sources, such as Email or Feedback, to track the origins of your leads.
Customize lead source names to accurately reflect the channels through which leads are acquired.
Lead Status
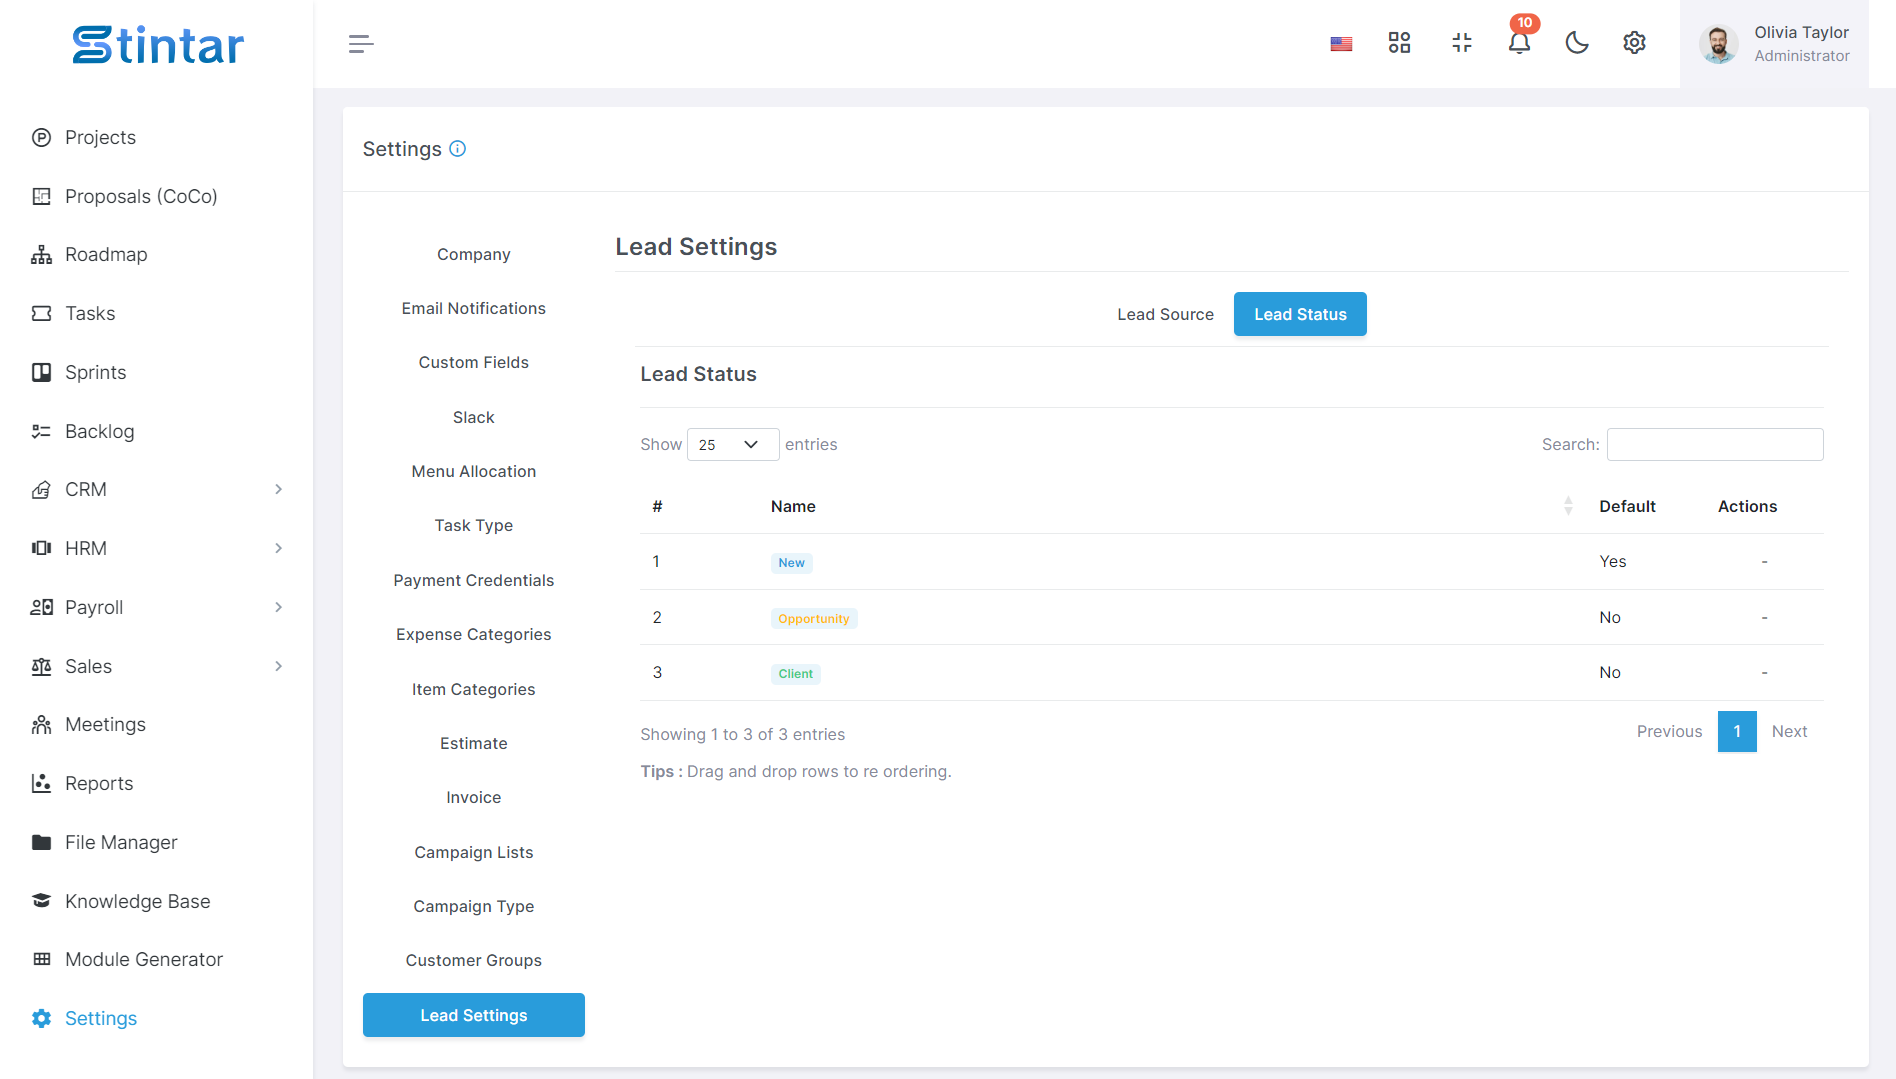
Create, Edit, Delete Lead Status
Define lead statuses to track the progress of leads through your sales pipeline.
Customize status names to align with your sales process stages, such as "New Lead," "Contacted," "Qualified," etc.
Default Status
Define a default lead status to automatically assign to new leads, streamlining lead management workflows.
Move Record Using Drag and Drop
Easily reposition lead statuses within your workflow by dragging and dropping them as needed.
Choose Color of Status
Customize the color associated with each lead status to visually differentiate between different stages of the sales pipeline.
By effectively managing lead sources and statuses, you can streamline lead tracking and optimize your sales process for improved efficiency and effectiveness.
Zoom Meeting
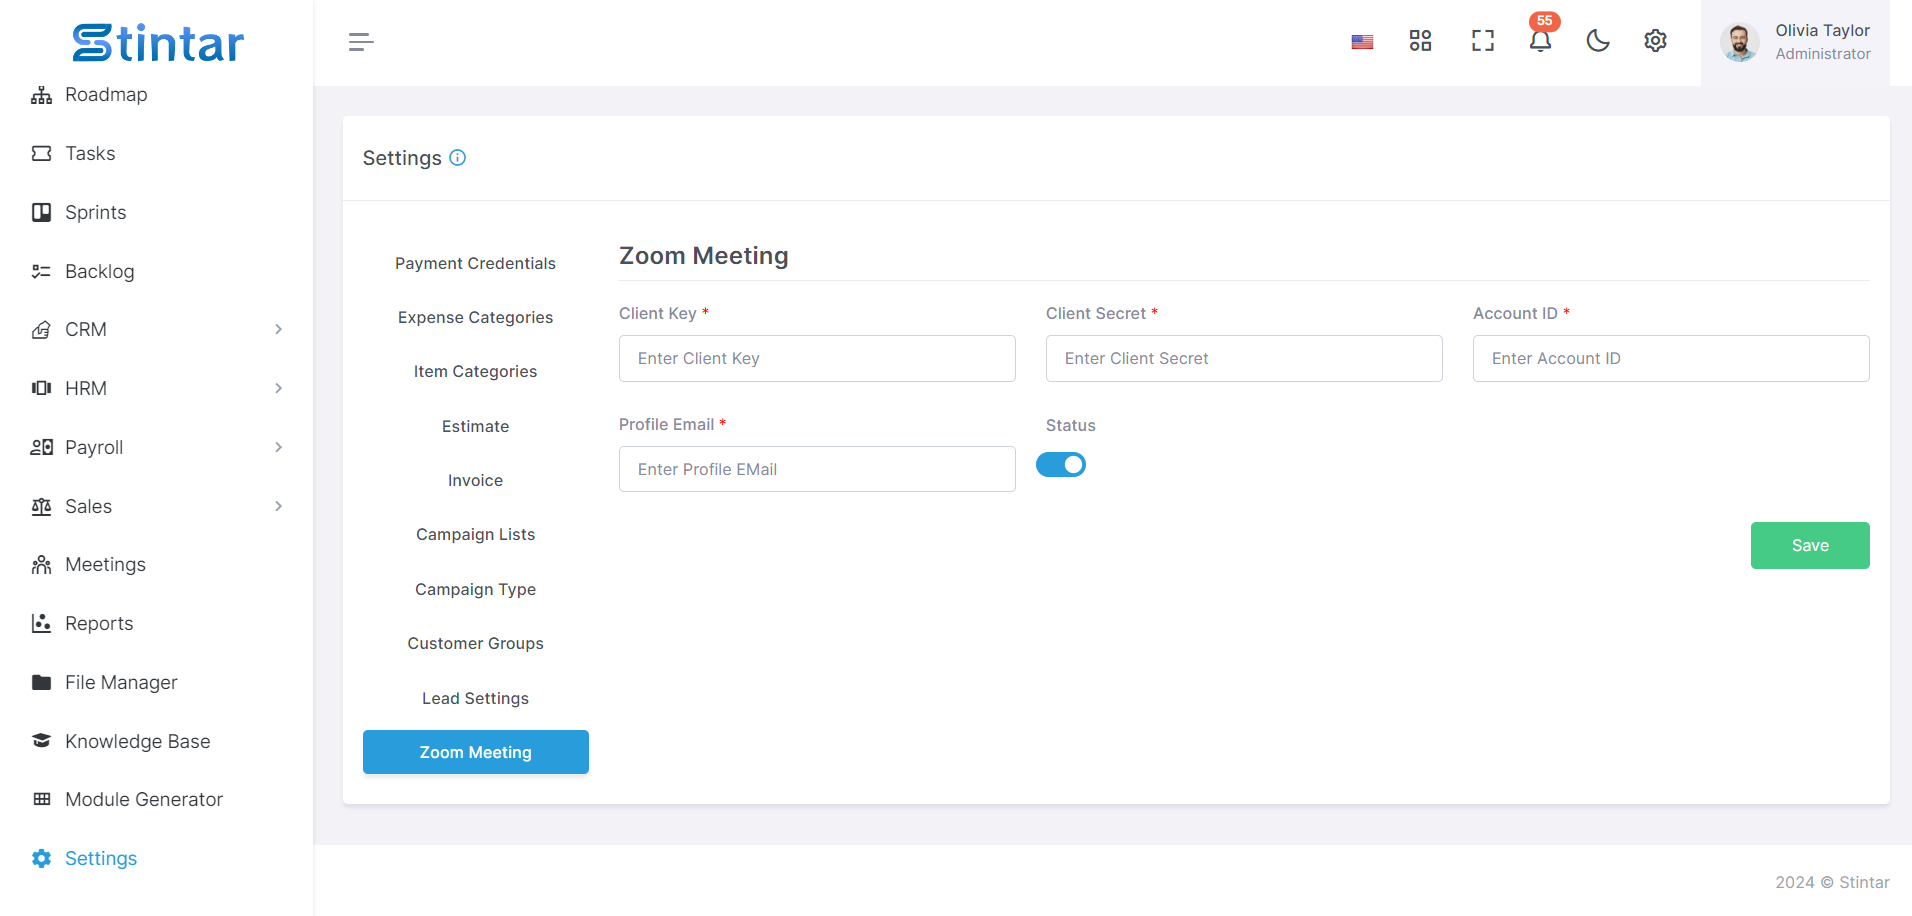
Set Zoom Meeting Credentials
Configure Zoom meeting credentials by providing the following information:
Client Key: Unique identifier provided by Zoom to authenticate your application.
Client Secret: Secret key provided by Zoom to authorize access to your account.
Account ID: Your Zoom account's unique identifier.
Profile Email: Email associated with your Zoom account for identification purposes.
Status for Zoom Meeting
Activate or deactivate Zoom meeting integration as needed to control access and functionality within the meeting module.
By setting up Zoom meeting credentials, you can enable seamless integration with the meeting module, allowing users to schedule, host, and manage Zoom meetings directly within your system.
This comprehensive guide covers the configuration of various settings within the Stintar tool integration. Users can efficiently manage and customize each aspect to tailor the platform to their specific business needs and streamline operations effectively.