How To Create A Client?

In the journey of business development, creating a client is a pivotal step, and Stintar provides three seamless methods to achieve this. Whether through direct conversion from a lead, transitioning from an opportunity, or by creating a client form, each method is tailored to user preferences and workflow efficiency.
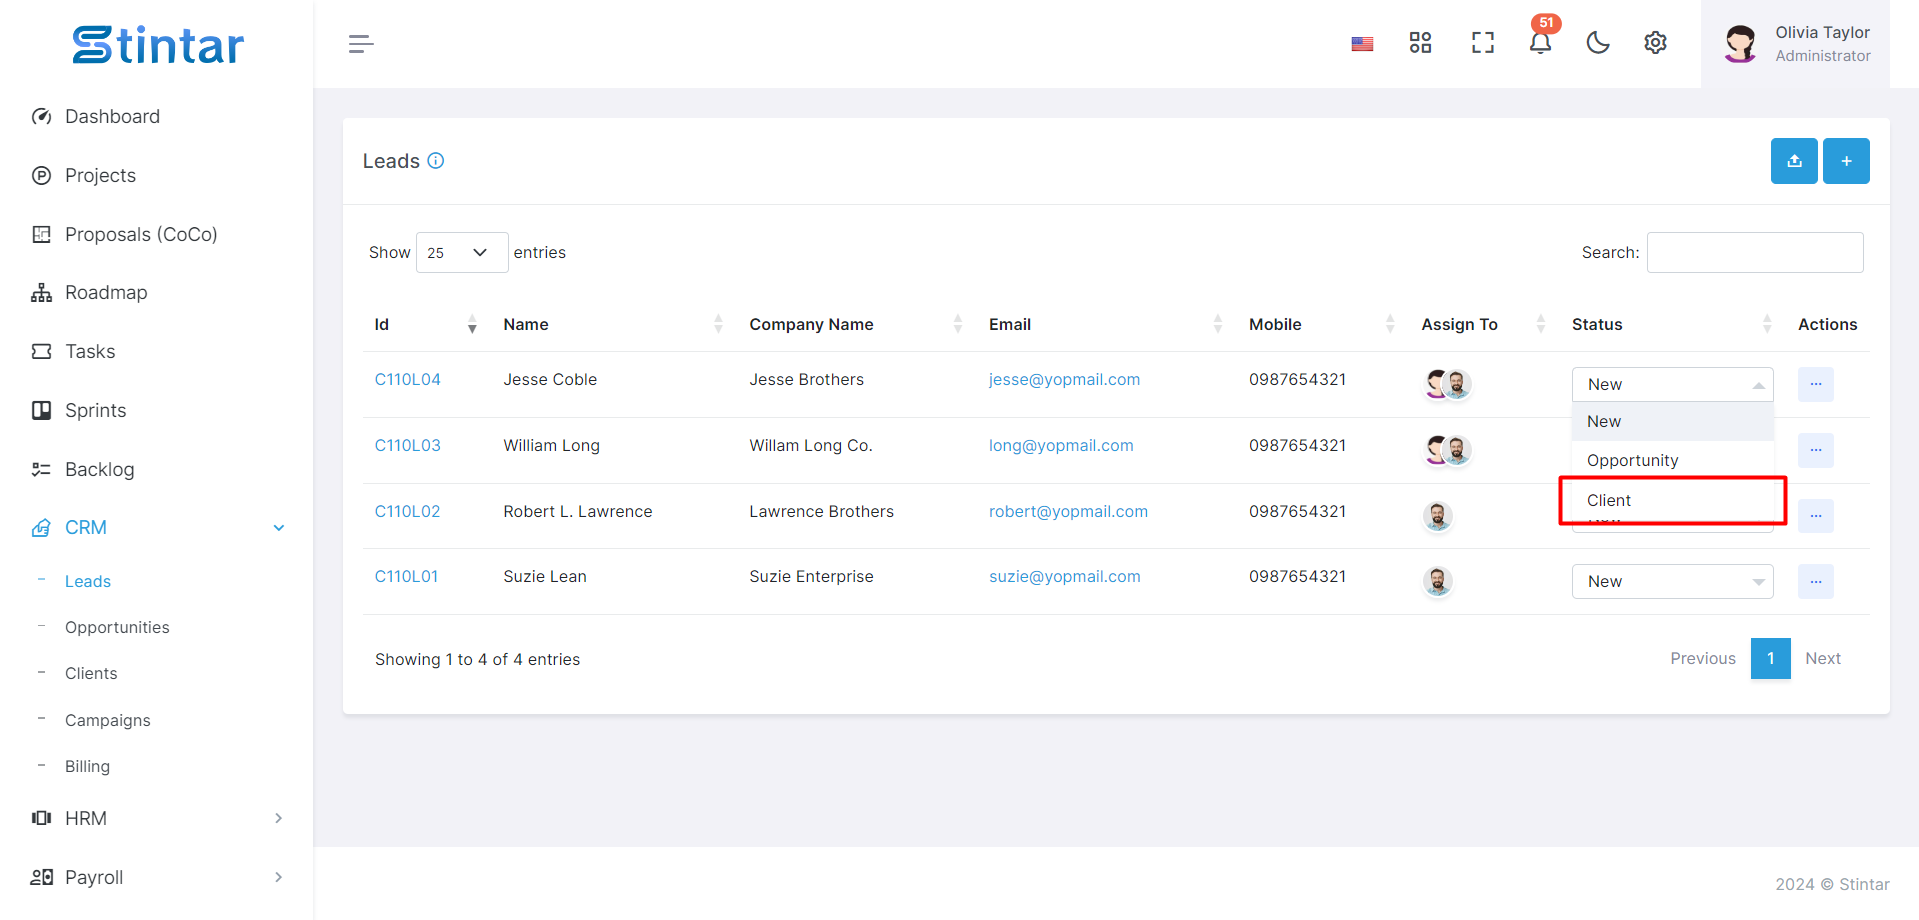
Method 1: Convert Lead to Client Directly
Change the lead status to "Client" on the Lead Listing Page, seamlessly transferring data to the Client Listing Page.
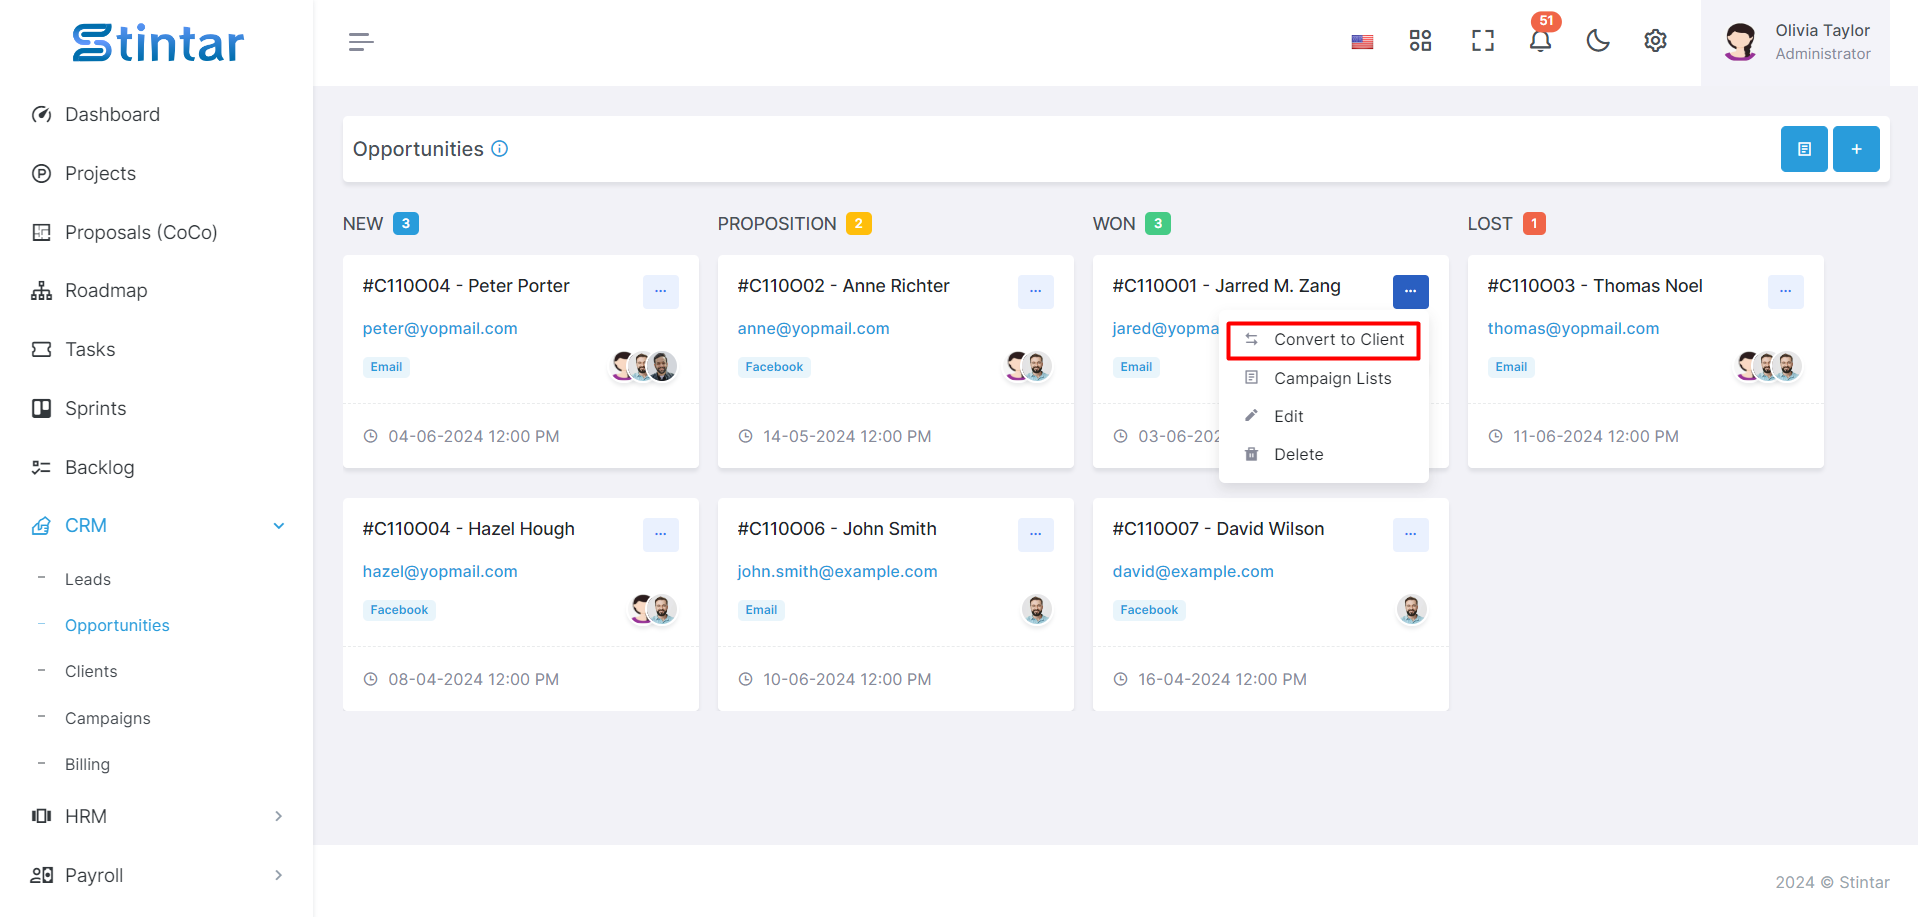
Method 2: Convert Opportunity to Client
Click on the three dots in the Action list on the Opportunity Page and select "Convert to Client" for a smooth transition.
Method 3: Create a Client Manually
Manually input crucial details in a client form, covering personal and company information, contact details, and additional elements such as profile photos, ensuring a comprehensive client profile.
Access Client Module
Navigate to the Client Module given in the CRM Module in the Left sidebar of the screen in Stintar.
Click on the “Client” module in CRM Module To open a Lead listing.
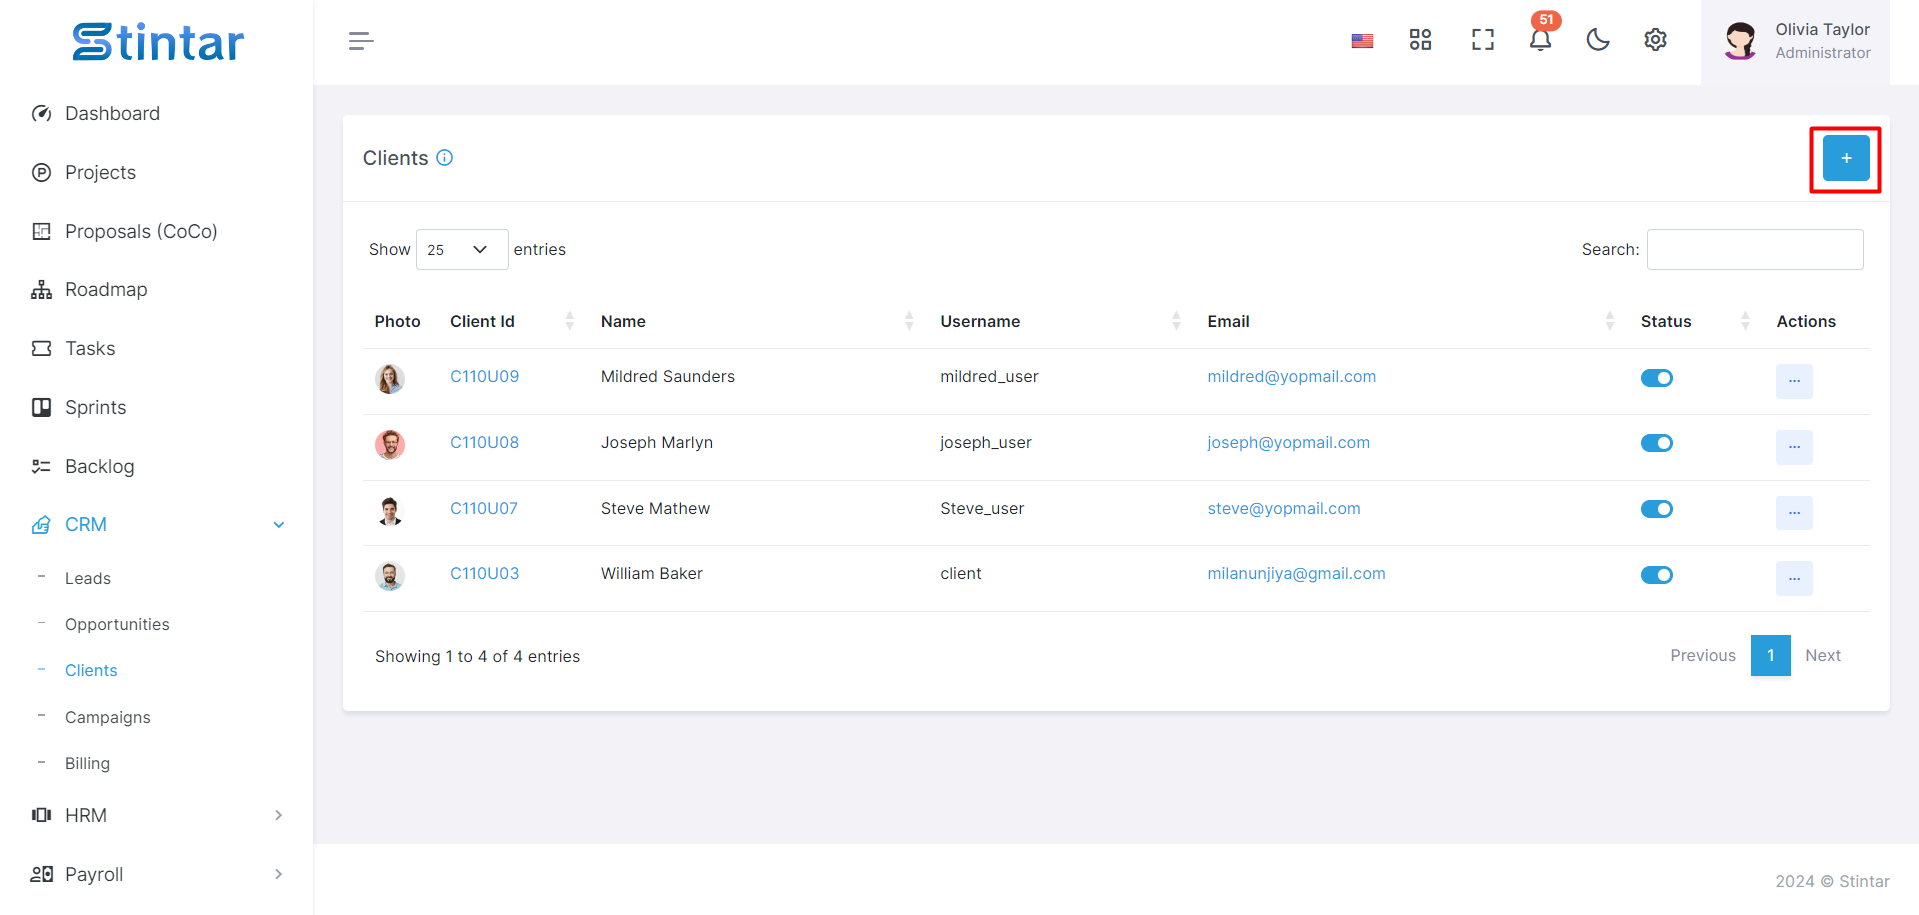
Initiate Client Creation
Within the Client page, find the "+Create" button.
Clicking on this button will lead you to a dedicated page for creating a new Client.
Client Creation Form
This form is designed to capture essential details for effective Client management.
Client Creation Form
Here you can see the Client creation form and Fill in the required details for the Client:
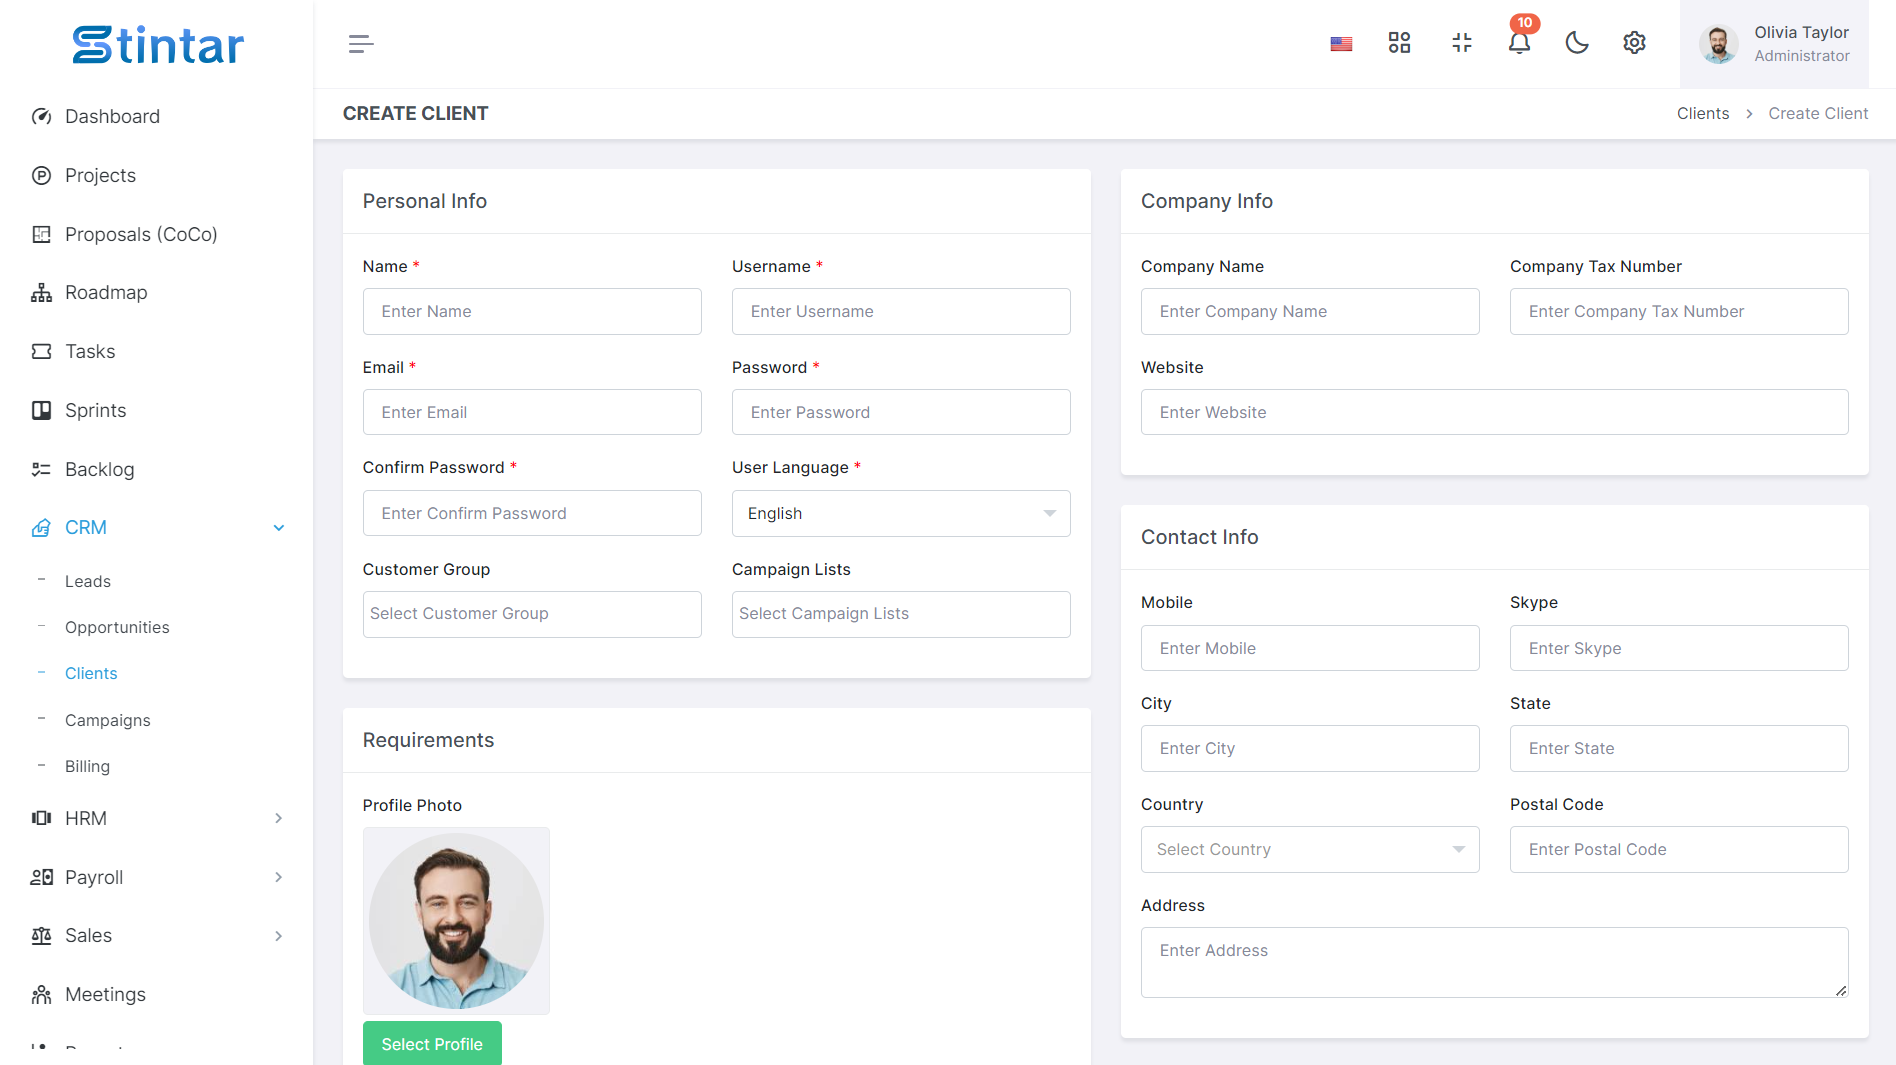
Name
Establishes a personal connection with the client.
Username
Unique identifier for secure login.
Email
Primary communication channel for ongoing correspondence.
Password
Ensures the security of the client's account.
User Language
Enhances user experience by offering content in the preferred language.
Customer Group
Facilitates targeted interactions based on client categorization.
You can add Customer group names from the Settings Module in Stintar.
Campaigns List
You can add Campaigns list names from the Settings Module in Stintar.
Company Name
Offers insights into the client's organizational background.
Address
Provides location-specific context for a comprehensive client profile.
Profile Photo
Adds a visual element for easy identification and personalization.
By utilizing these methods and providing the necessary details, Stintar empowers users to effortlessly create comprehensive client profiles, fostering meaningful and tailored interactions throughout the client lifecycle. You have now created a lead and you can see the list of leads in the Lead Listing Page.