How To Create An Expense?

Creating expenses is essential for accurately tracking and managing costs incurred by your business. This guide outlines the simple steps to create expenses within the Sales Module, enabling you to maintain organized financial records and make informed decisions regarding expenditure.
Create Expense

Accessing the Expense Section
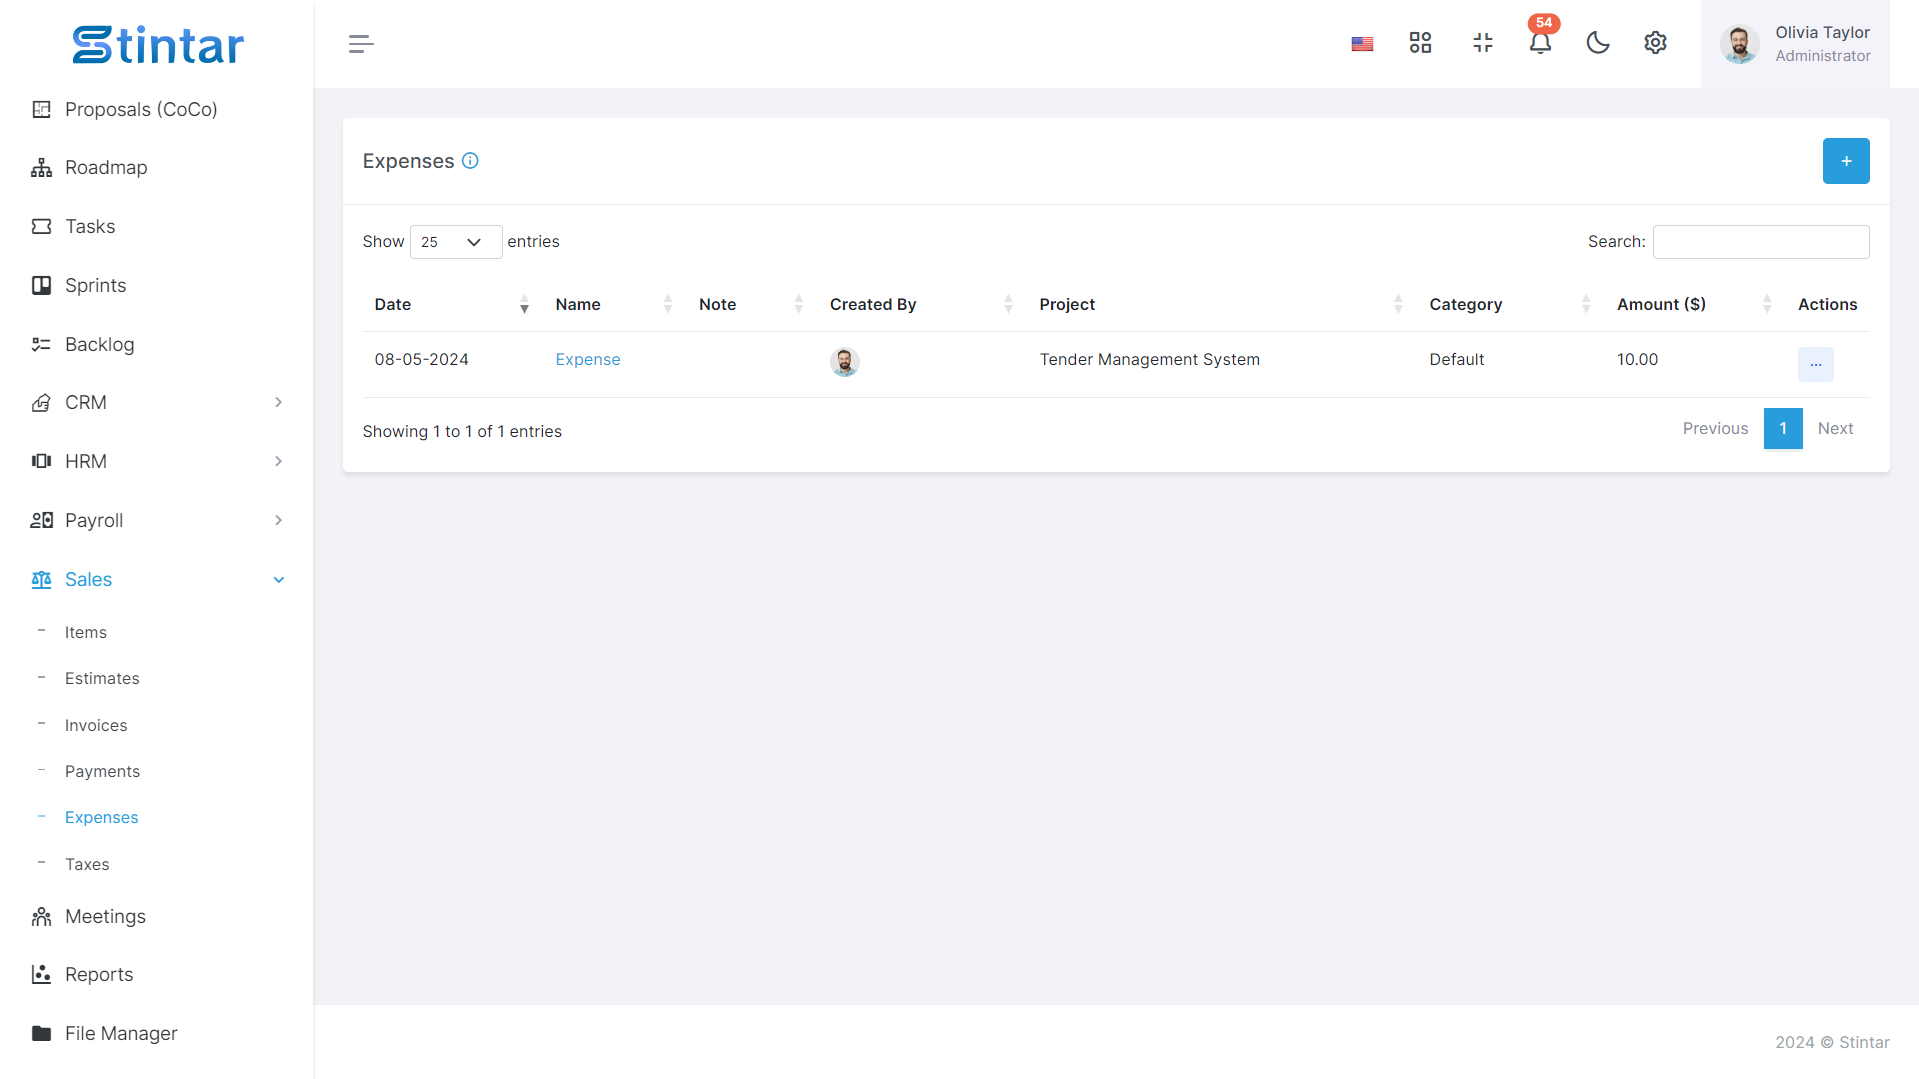
Open the Sales Module of your system.
Navigate to the expense section, typically located in the main menu.
Open the Sales Module of your system.
Navigate to the expense section, typically located in the main menu.
Initiating Expense Creation
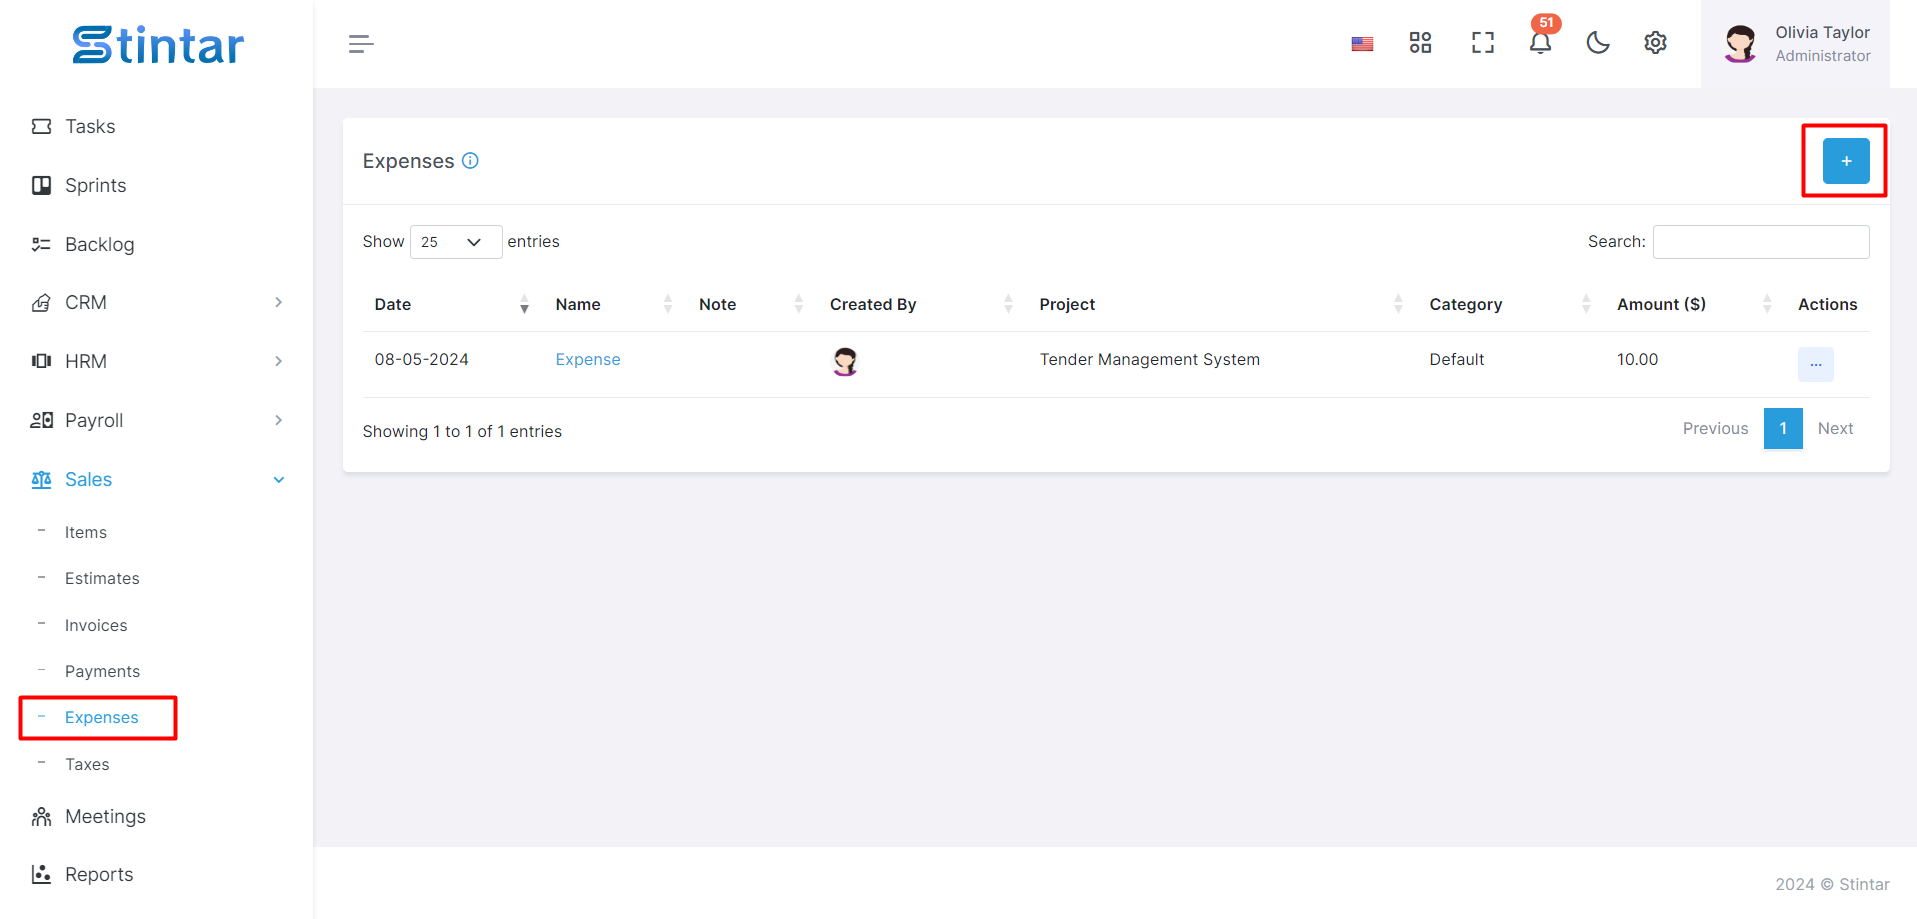
Within the expense section, look for the "+ Create" button to begin creating a new expense.
Click on the button to access the expense creation form.
Filling the Expense Creation Form
Within the expense section, look for the "+ Create" button to begin creating a new expense.
Click on the button to access the expense creation form.
Filling the Expense Creation Form
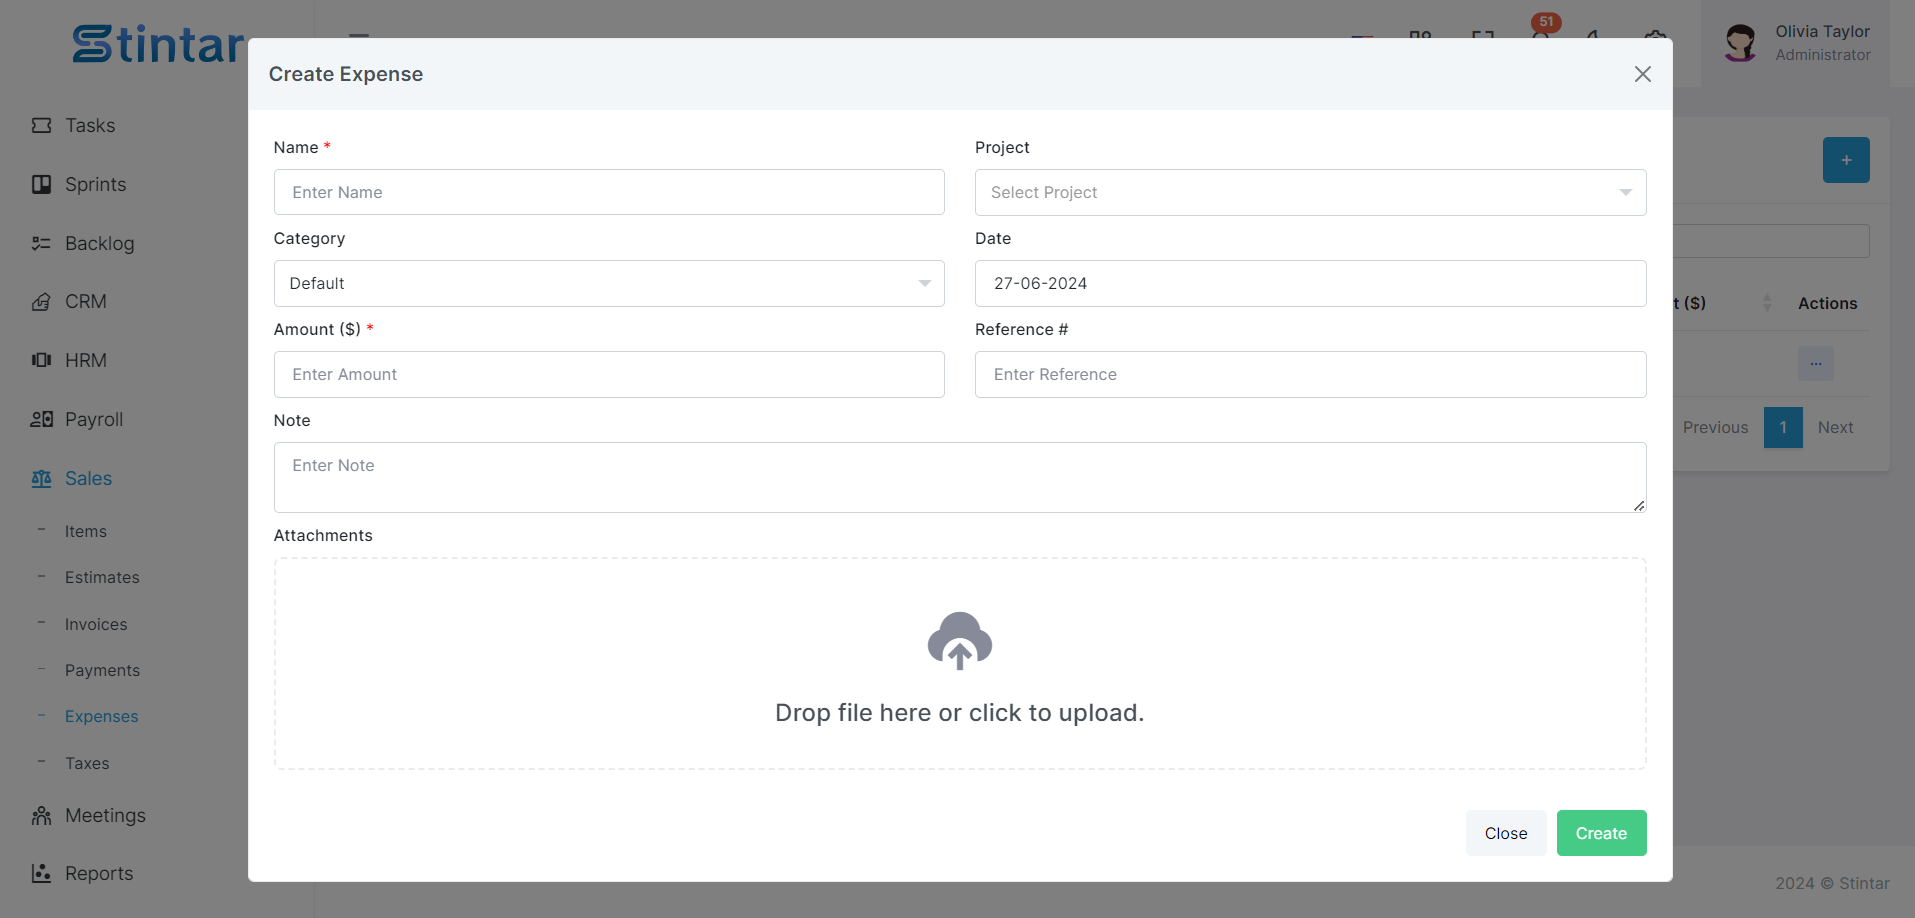
Expense Creation Form

Name
Enter a descriptive name for the expense, providing details of the expenditure (e.g., "Office Supplies").
Project (Optional)
If applicable, specify the project associated with the expense.
Category
Select the appropriate expense category from the available options (e.g., "Utilities," "Travel").
Date
Enter the date on which the expense occurred.
Amount
Specify the amount of the expense.
Note
Optionally, provide additional notes or details regarding the expense.
Attachment
Attach any relevant documents or receipts related to the expense.
Saving the Expense
Review the expense details for accuracy.
Click on the "Create" button to add the expense to the system.
Viewing and Managing Expenses
Once saved, the expense will be listed in the expense listing page within the Sales Module.
From the expense listing page, you can view, edit, or delete expense details as needed.
By following these straightforward steps, you can efficiently create and manage expenses within your Sales Module. This process enables you to accurately track costs, maintain transparency in financial transactions, and make informed decisions regarding expenditure for improved business management.